Product & Service Design Guide
What is Product & Service Design?
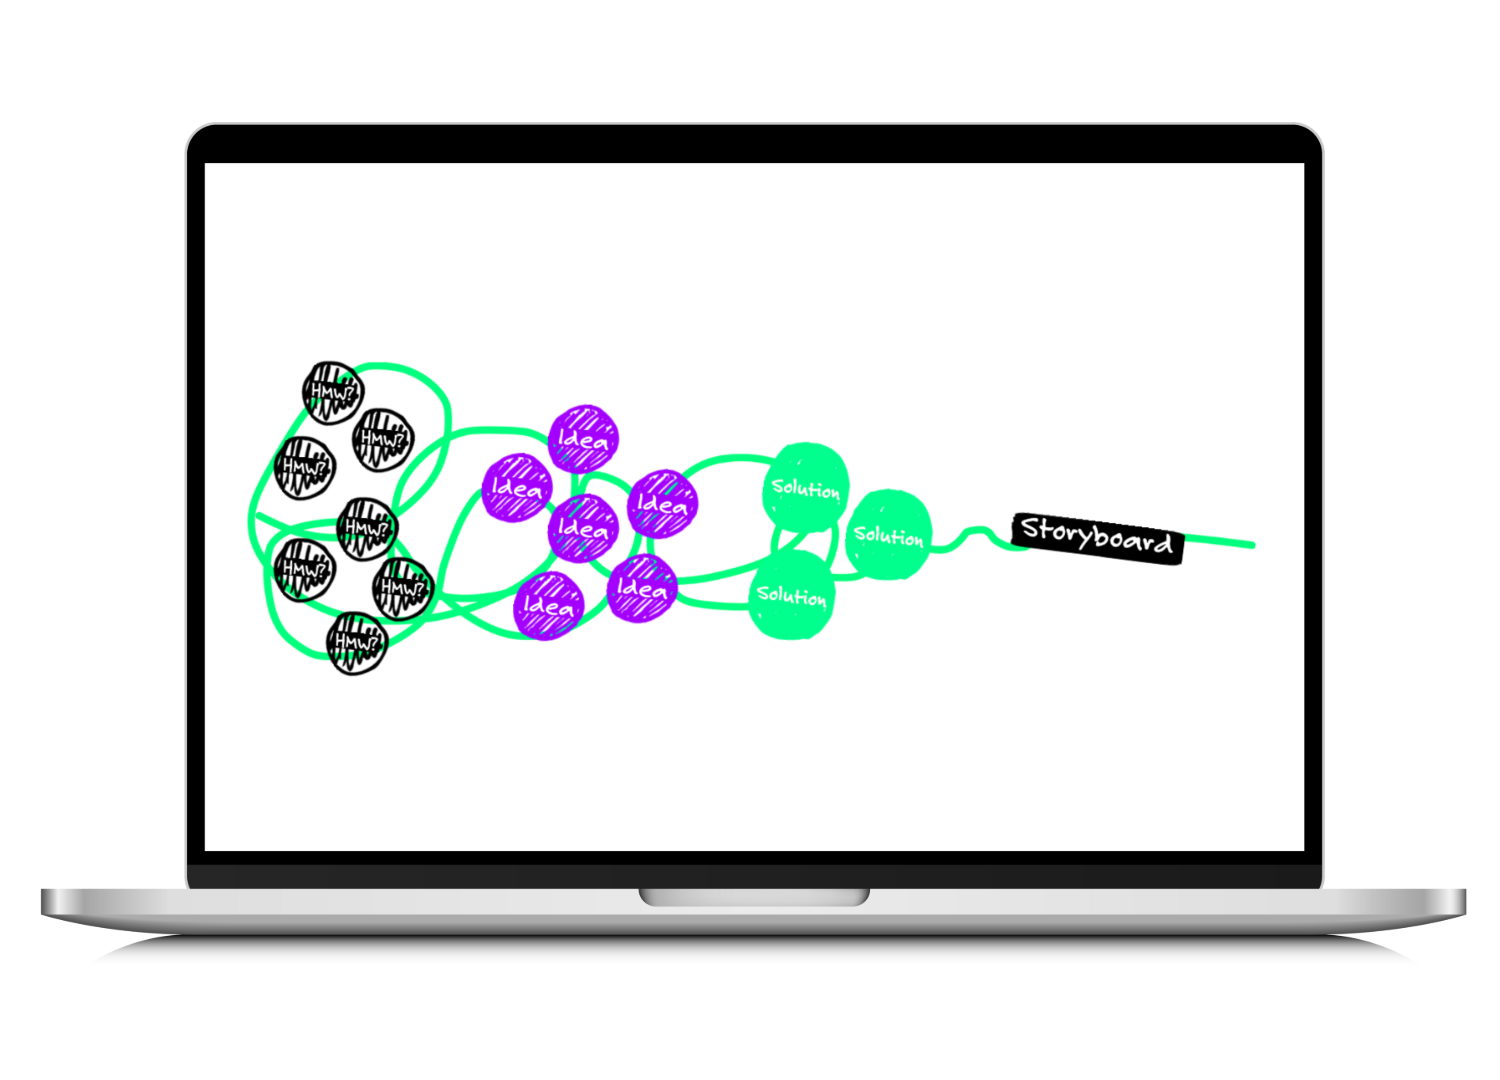
In this guide, we will get creative and dive into the design of your product or service. We will do this using an adapted version of a so-called design sprint.
The design sprint method was developed by Jake Knapp from Google Ventures. It is a structured process for quickly generating and designing product or service concepts. In the best case you will work in a team to brainstorm ideas, sketch solutions and draw the storyboard for a product/service. Later, you will prototype and test the idea to arrive at a high-fidelity design concept ready for further development and implementation.
This method allows for efficient generation of multiple design ideas and fast-paced iteration, avoiding the pitfalls of investing in a single design direction too early. It is a good way to align stakeholders and team members to be on the same page and make the most of the limited time and resources.
While you can always work through this toolkit on your own within the time you need, the design sprint is best conducted in a two-day workshop format with the whole team.
⚠️So, before starting into this process, you want to get your team together. If you are working as a solopreneur on your project, try to get together some of your peers to assist you in this design sprint for the next two days. In the best case, the design sprint team is multidisciplinary with different skills. It is very helpful and enriching to get different views and ideas.
If you can’t get everyone physically in the same room, don’t worry! You can also get together online using your preferred meeting platform. We’ll provide you with a digital whiteboard template to collaborate online.
So to get prepared for your design sprint:
- Get your team together.
- Find a meeting location or choose your online meeting platform and send out the meeting invites.
- Prepare and share your whiteboard (Step A).
Note: 🍋 Throughout this guide, we will use the example of a food supplement company to better illustrate each task and information.
What is Product & Service Design
Good For?
Product/Service Design is crucial y not only for startup founders as it provides a systematic approach to developing innovative concepts. By engaging in a design sprint, you can:
- Quickly Address Key Business Questions: A design sprint facilitates the rapid exploration of critical business questions within a highly collaborative workshop.
- Mitigate the Risk of Unsuccessful Investments: The design sprint minimizes the risk of investing time and resources in an idea that may not prove successful in the long run.
- Foster Unified Understanding: It fosters a unified understanding of the product challenges among all relevant stakeholders.
- Promote Ownership: A design sprint provides a sense of ownership for all parties involved in the process.
How to Design Your Product or Service Step-by-Step:
Step A: Whiteboard Template
Step B: Warm Up
Step C: Sprint Questions
Step D: Customer Journey Mapping
Step E: "How might we..?" Questions
Step F: Best Practice Lightning Demos
Step G: Solution Sketches
Step H: Solution Gallery
Step I: Storyboard
Step A
Product/Service Design Template
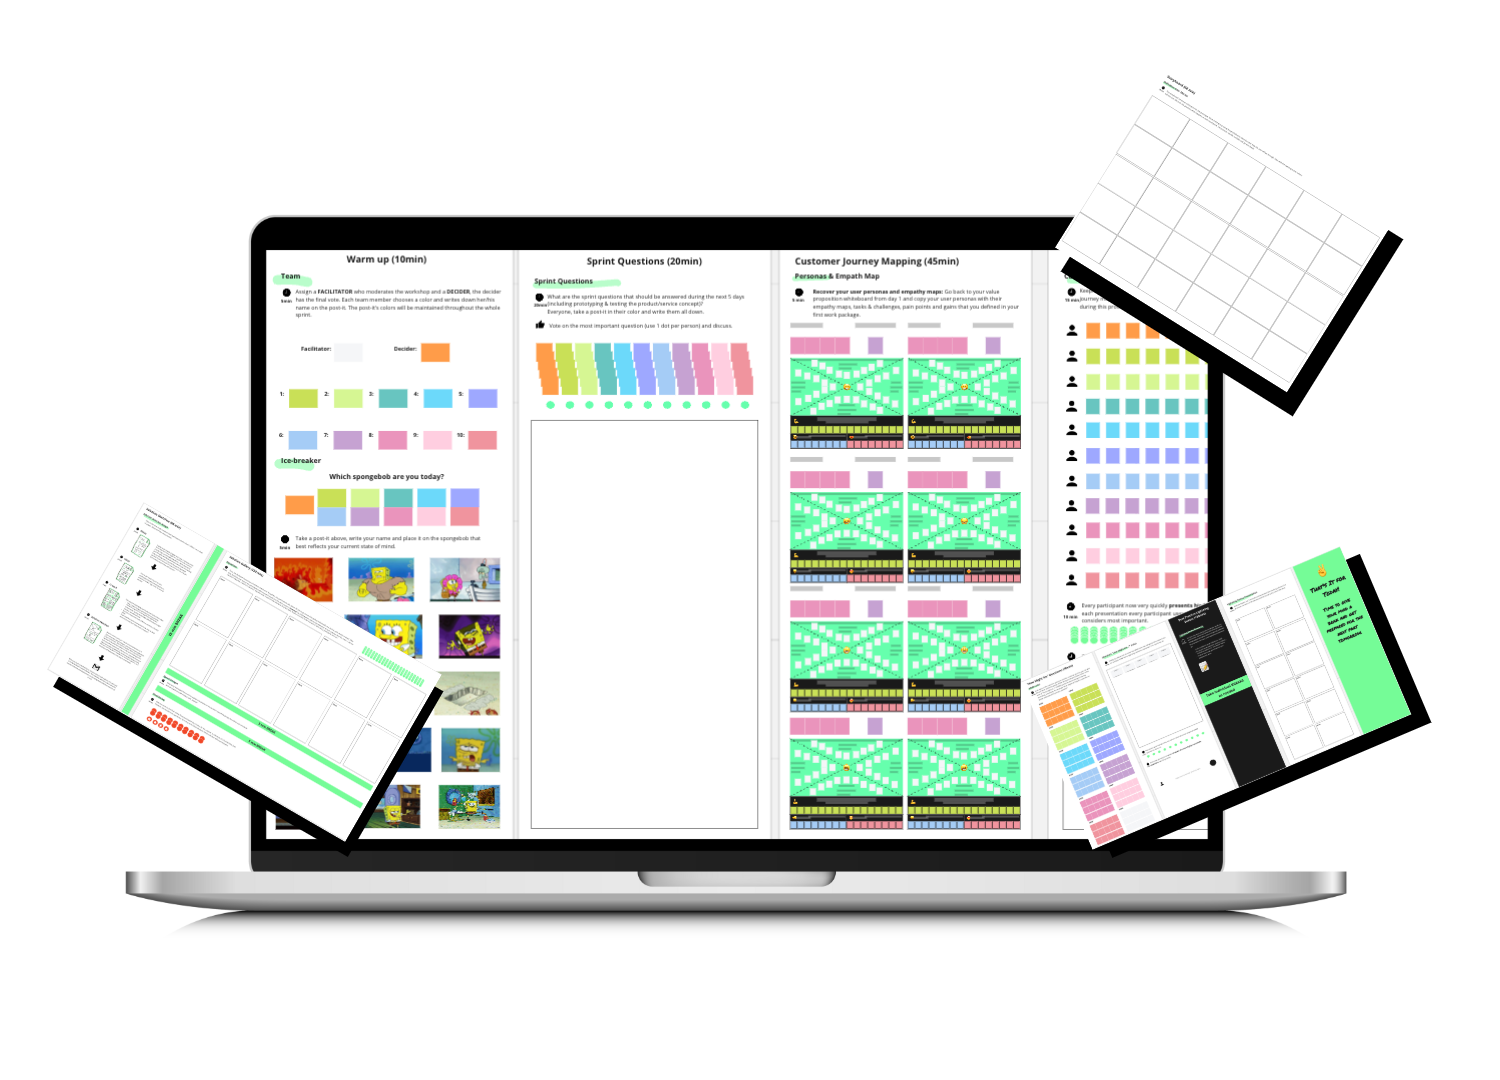
To work on your product or service design you can either build your own whiteboard template for example on Miro or you can use our ready-to-use template along with this guide.
Included Templates:

Product/Service Design Miro Board
Step B
Warm Up

Welcome to your design sprint. Open your whiteboard and the first thing you want to do is get your team organized.
Two key roles in a design sprint, that play a vital role in ensuring the success of the process, are the facilitator and the decider.
The facilitator is responsible for leading the team through the design sprint process and ensuring that the team stays on track. The facilitator is usually someone who familiarized himself beforehand with the design sprint methodology and can guide the team through the different stages of the process. The facilitator’s role is to help the team stay focused, manage the schedule, and ensure that everyone has an equal opportunity to contribute their ideas.
The decider is responsible for making final decisions about which ideas and concepts to move forward with. The decider is usually a senior member of the team, who has the authority to make decisions about the direction of the project. The decider’s role is important because it allows the team to move forward with a clear and focused direction, without getting bogged down in endless discussions and debates.
Both facilitator and decider roles are important for the design sprint process as facilitator helps keep the team aligned, on track and making the most of their time, while the decider helps to make final decisions that will impact the project and product development. Without these roles, the team may face difficulties in agreeing on a solution, and delays in the process.
✅Organize the team (5min)
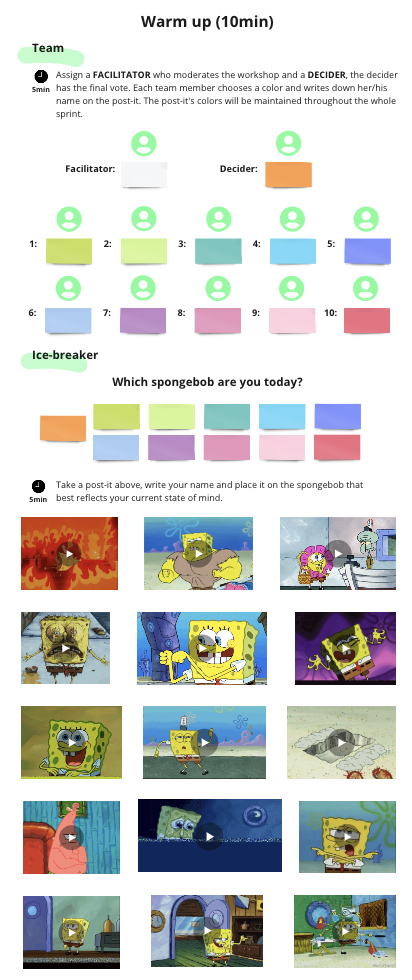
First, take 5 minutes to assign the team roles. Assign a FACILITATOR who guides through the sprint and a DECIDER, the decider has the final vote. Each of the team members chooses a color and writes down their name on the post-it. The post-it colors will be maintained throughout the whole sprint.
✅ Break the ice (5min)
Now, let’s continue with a little ice breaker. Every team member takes a post-it, writes their name and places it on the spongebob that best reflects their current state of mind.
Step C
Sprint Questions

Next, you want to align the team on the outcome of this design sprint and define the sprint questions.
Sprint questions are a set of guiding questions that help define the focus of your design sprint and ensure that the team stays on track throughout the process. They are used to guide the team’s thinking and decision-making throughout the sprint. The specific sprint questions vary depending on your project and the problem you’re addressing. But they generally fall into the following categories:
- Problem statement: What is the problem we are trying to solve?
- User research: Who are our users, and what are their needs?
- Goals: What do we want to achieve with this project?
- Success metrics: How will we measure the success of our solution?
- Constraints: What limitations do we need to take into account when developing our solution?
The sprint questions help you to define the scope of your project and set clear objectives for the team to work towards. By keeping these questions in mind throughout the sprint, the team can ensure that their ideas and solutions are aligned with the project’s goals and objectives.
✅Define the sprint questions (20min)
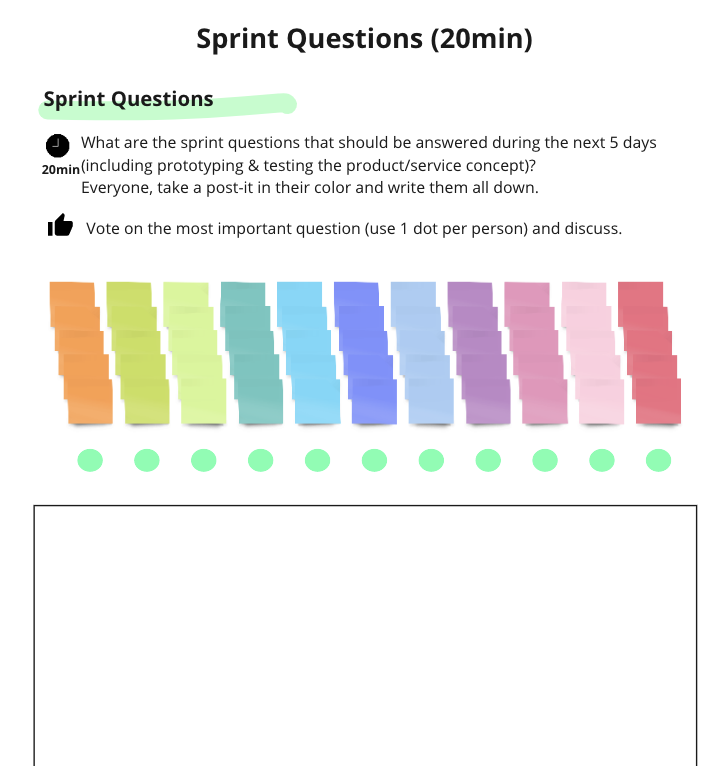
What are the sprint questions that should be answered during the next hours, including prototyping and testing the product/service concept?
Everyone, take a post-it in their color and write them all down. Then vote on the most important question (use 1 dot per person) and discuss.
Step D
Customer Journey Mapping

Customer journey mapping is a technique used to understand and visualize the interactions and touchpoints that a customer has with a product or service. It maps the different stages of the customer experience, from initial awareness to post-purchase evaluation.
Customer journey mapping can be used to identify areas for improvement in the customer experience and to generate ideas for new features or solutions. The goal is to gain a comprehensive understanding of the customer’s needs, motivations, and behaviors throughout the entire process of interacting with the product or service.
By creating a customer journey map, the team can gain an even deeper understanding of the possible touchpoints and customer’s needs and behaviors as well as pain points related to the product and use this information to inform the design of the product or service. This can lead to a design that is more centered around the user and a better overall customer experience.
You already completed a great deal of work on day 1 when you defined your user personas with their empathy maps as well as their tasks and challenges, pain points and gains. Use those as a starting point.
✅ Recover your customer personas (5min)
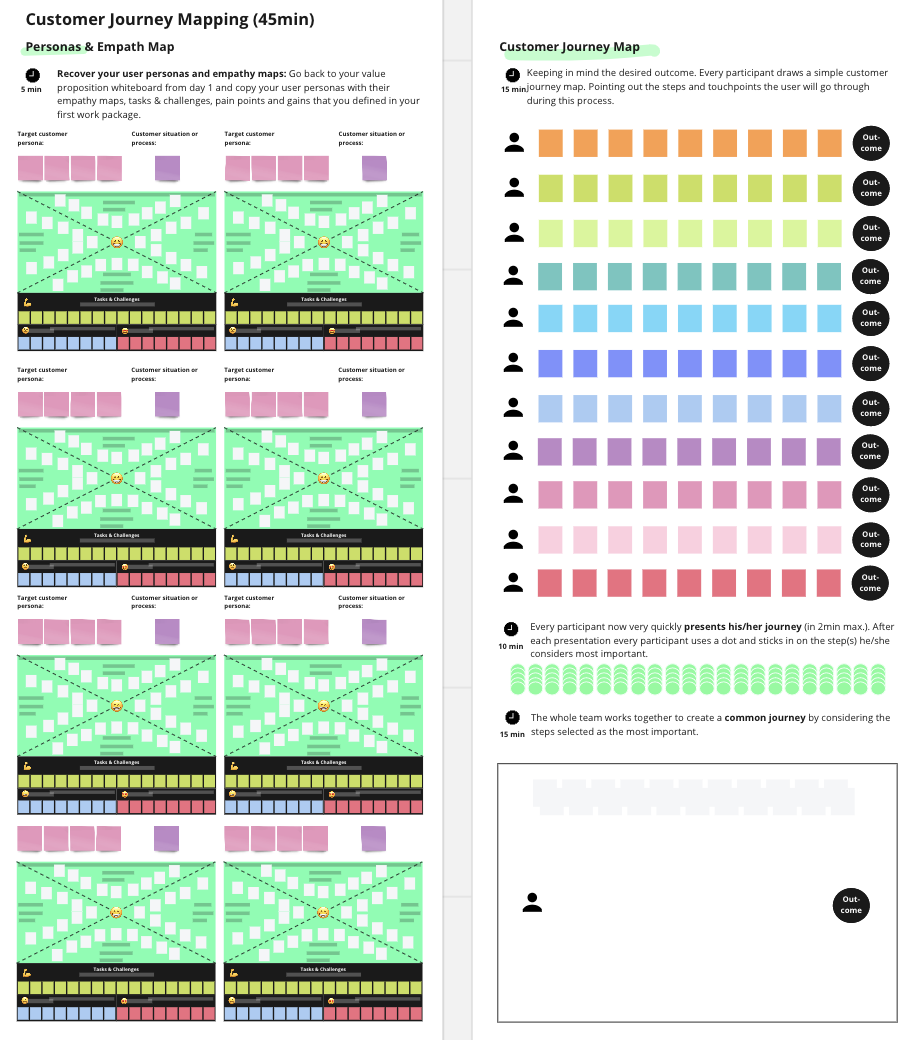
Go back to your value proposition whiteboard from day 1 and copy your user personas with their empathy maps, tasks & challenges, pain points and gains that you defined in your first work package.
✅ Map the customer journey (15min)
Keeping in mind the desired outcome. Every participant draws a simple customer journey map. Pointing out the steps and touchpoints the user will go through during this process.
✅ Present the customer journeys and vote (10min)
Every participant now very quickly presents their journey (in 2min max.). After each presentation, every participant places a dot on the step(s) they consider to be the most important.
✅ Draw a common journey (5min)
The whole team works together to create a common journey by considering the steps selected as the most important.
Step E
“How might we…?” Questions

“How might we” (HMW) questions are a technique used to reframe a problem or challenge in a more open-ended, solution-focused way. The key benefit of using “How might we” questions is that they encourage a more expansive and creative way of thinking about a problem. They are used to generate a wide range of ideas and potential solutions, rather than being constrained by the initial problem statement. Additionally, it can help to build a common understanding among team members, and align on the problem they are trying to solve.
HMW questions are typically formulated as “How might we…?” followed by a brief statement of the problem or challenge.
During a design sprint, HMW questions can be used to guide the team’s thinking and decision-making throughout the process, particularly during the ideation and prototyping stages. The team can use these questions to generate a wide variety of ideas and concepts, and then select the most promising solutions to move forward with.
✅ Take HMW notes (20min)
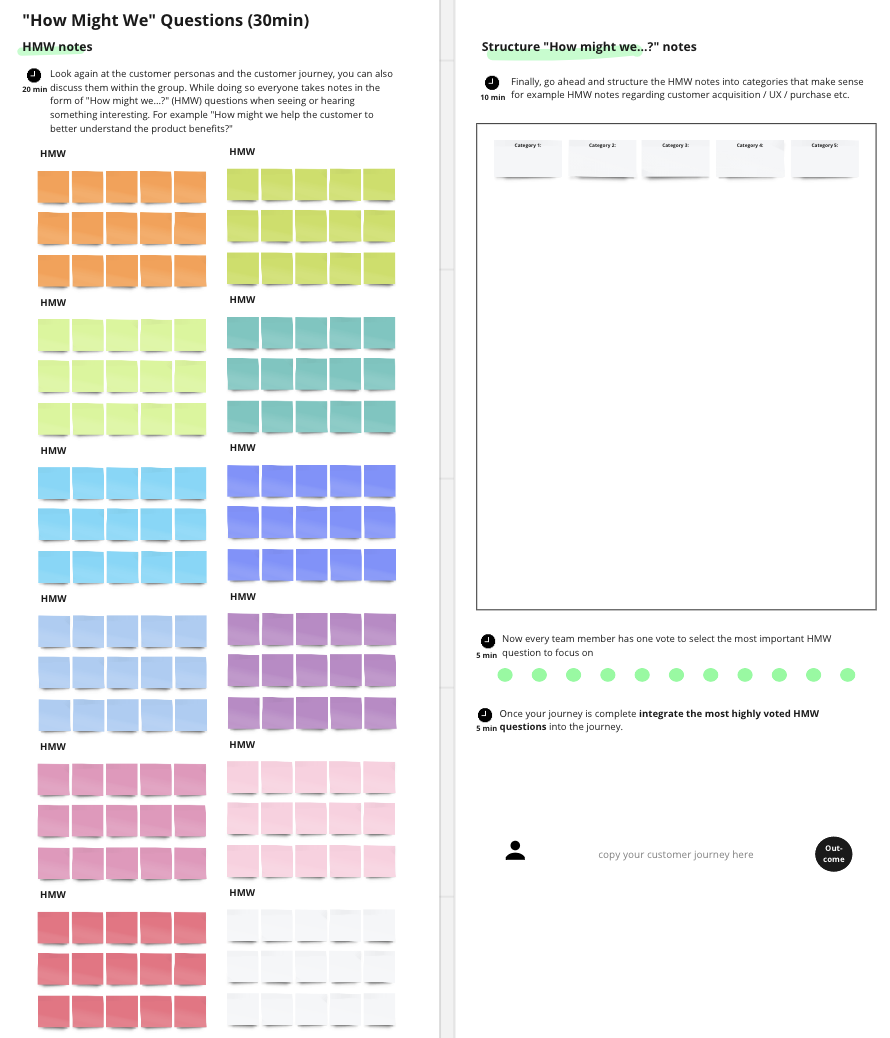
Look again at the customer personas and the customer journey, you can also discuss them within the group. While doing so, everyone takes notes in the form of “How might we…?” (HMW) questions when seeing or hearing something interesting. For example, ‘How might we help the customer better understand the product benefits?’
✅ Structure the HMW notes (10min)
Finally, go ahead and structure the HMW notes into categories that make sense, for example HMW notes regarding customer acquisition / UX / purchase etc.
✅ Vote for the final HMW questions (5min)
Now every team member has one vote to select the most important HMW question to focus on.
✅ Integrate the HMW questions with the customer journey (5min)
Once your journey is completed, integrate the most highly voted HMW questions into the journey.
Step F
Best Practice Lightning Demos

Now it is time to research best practices and get inspired through so-called lightning demos.
A lightning demo is a short, focused presentation of a concept or in this case the inspiring solutions and best practices that is used to get feedback from the rest of the team and find elements to incorporate in the product/service design.
The term “lightning” refers to the speed at which the demo is conducted, it’s a way to quickly test and validate an idea without investing too much time and resources.
✅ Research inspiring solutions (60min)
For the next hour every team member works on her/his own. Everyone researches best practices individually and makes a list of inspiring solutions for products, services, user experience elements etc.
- Look outside of your industry or field.
- Be visual: show websites, photos, videos… and tell us what is so cool about them.
- Collect them and post them to your whiteboard area.
✅ Present your lightning demos (60min)
Each participant has 5 minutes to demonstrate the inspiring solutions for products, services or UX elements he/she found to the rest of the team.
Once everyone presents their lightning demo it is time to give your minds a break, close up for today and get ready for your second design sprint day tomorrow.
Step G
Solution Sketches

Welcome back to the second day of your design sprint. Today will be very creative, so grab some sheets of paper and a pen, and get ready to sketch.
We will start with developing the so-called solution sketched.
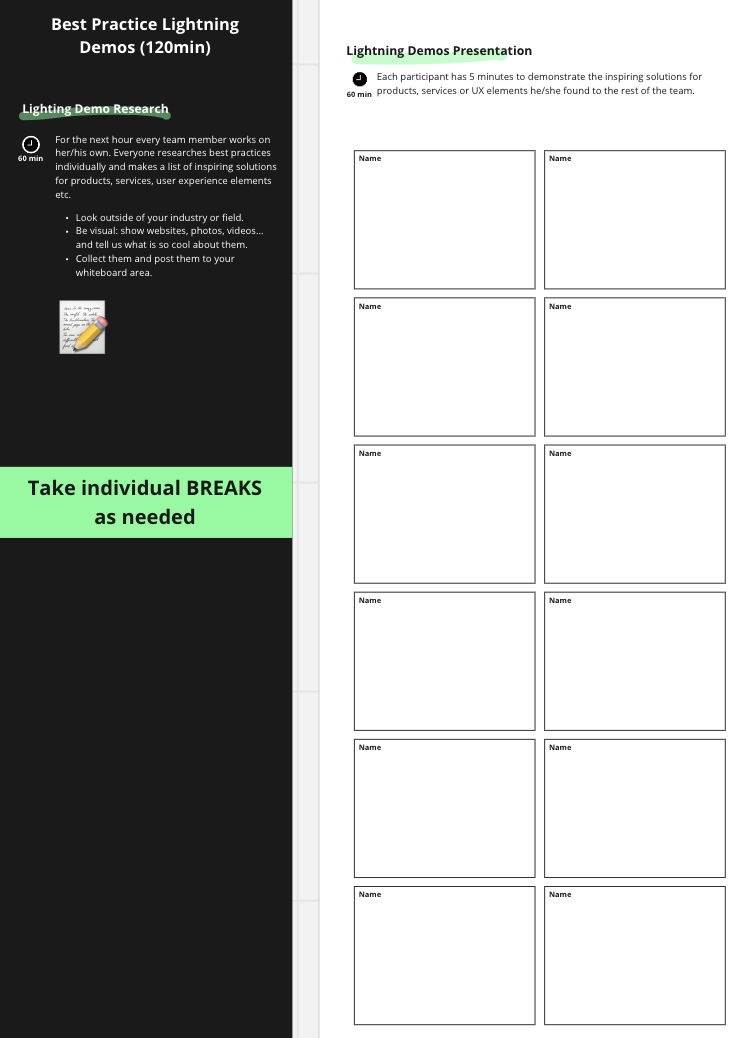
Solution sketches are created in a 4-step process by the team members individually, then they are collected and shared with the rest of the team and stakeholders. The goal of creating solution sketches is to generate a wide range of ideas and potential solutions, and to identify the most promising concepts to move forward with. The team can use the solution sketches as a starting point for creating more detailed and refined prototypes, or to discuss possible solutions, collect feedback and adjust the solution, it’s a way to speed up the ideation process and to validate or discard concepts quickly.
✅ Take your notes (20min)
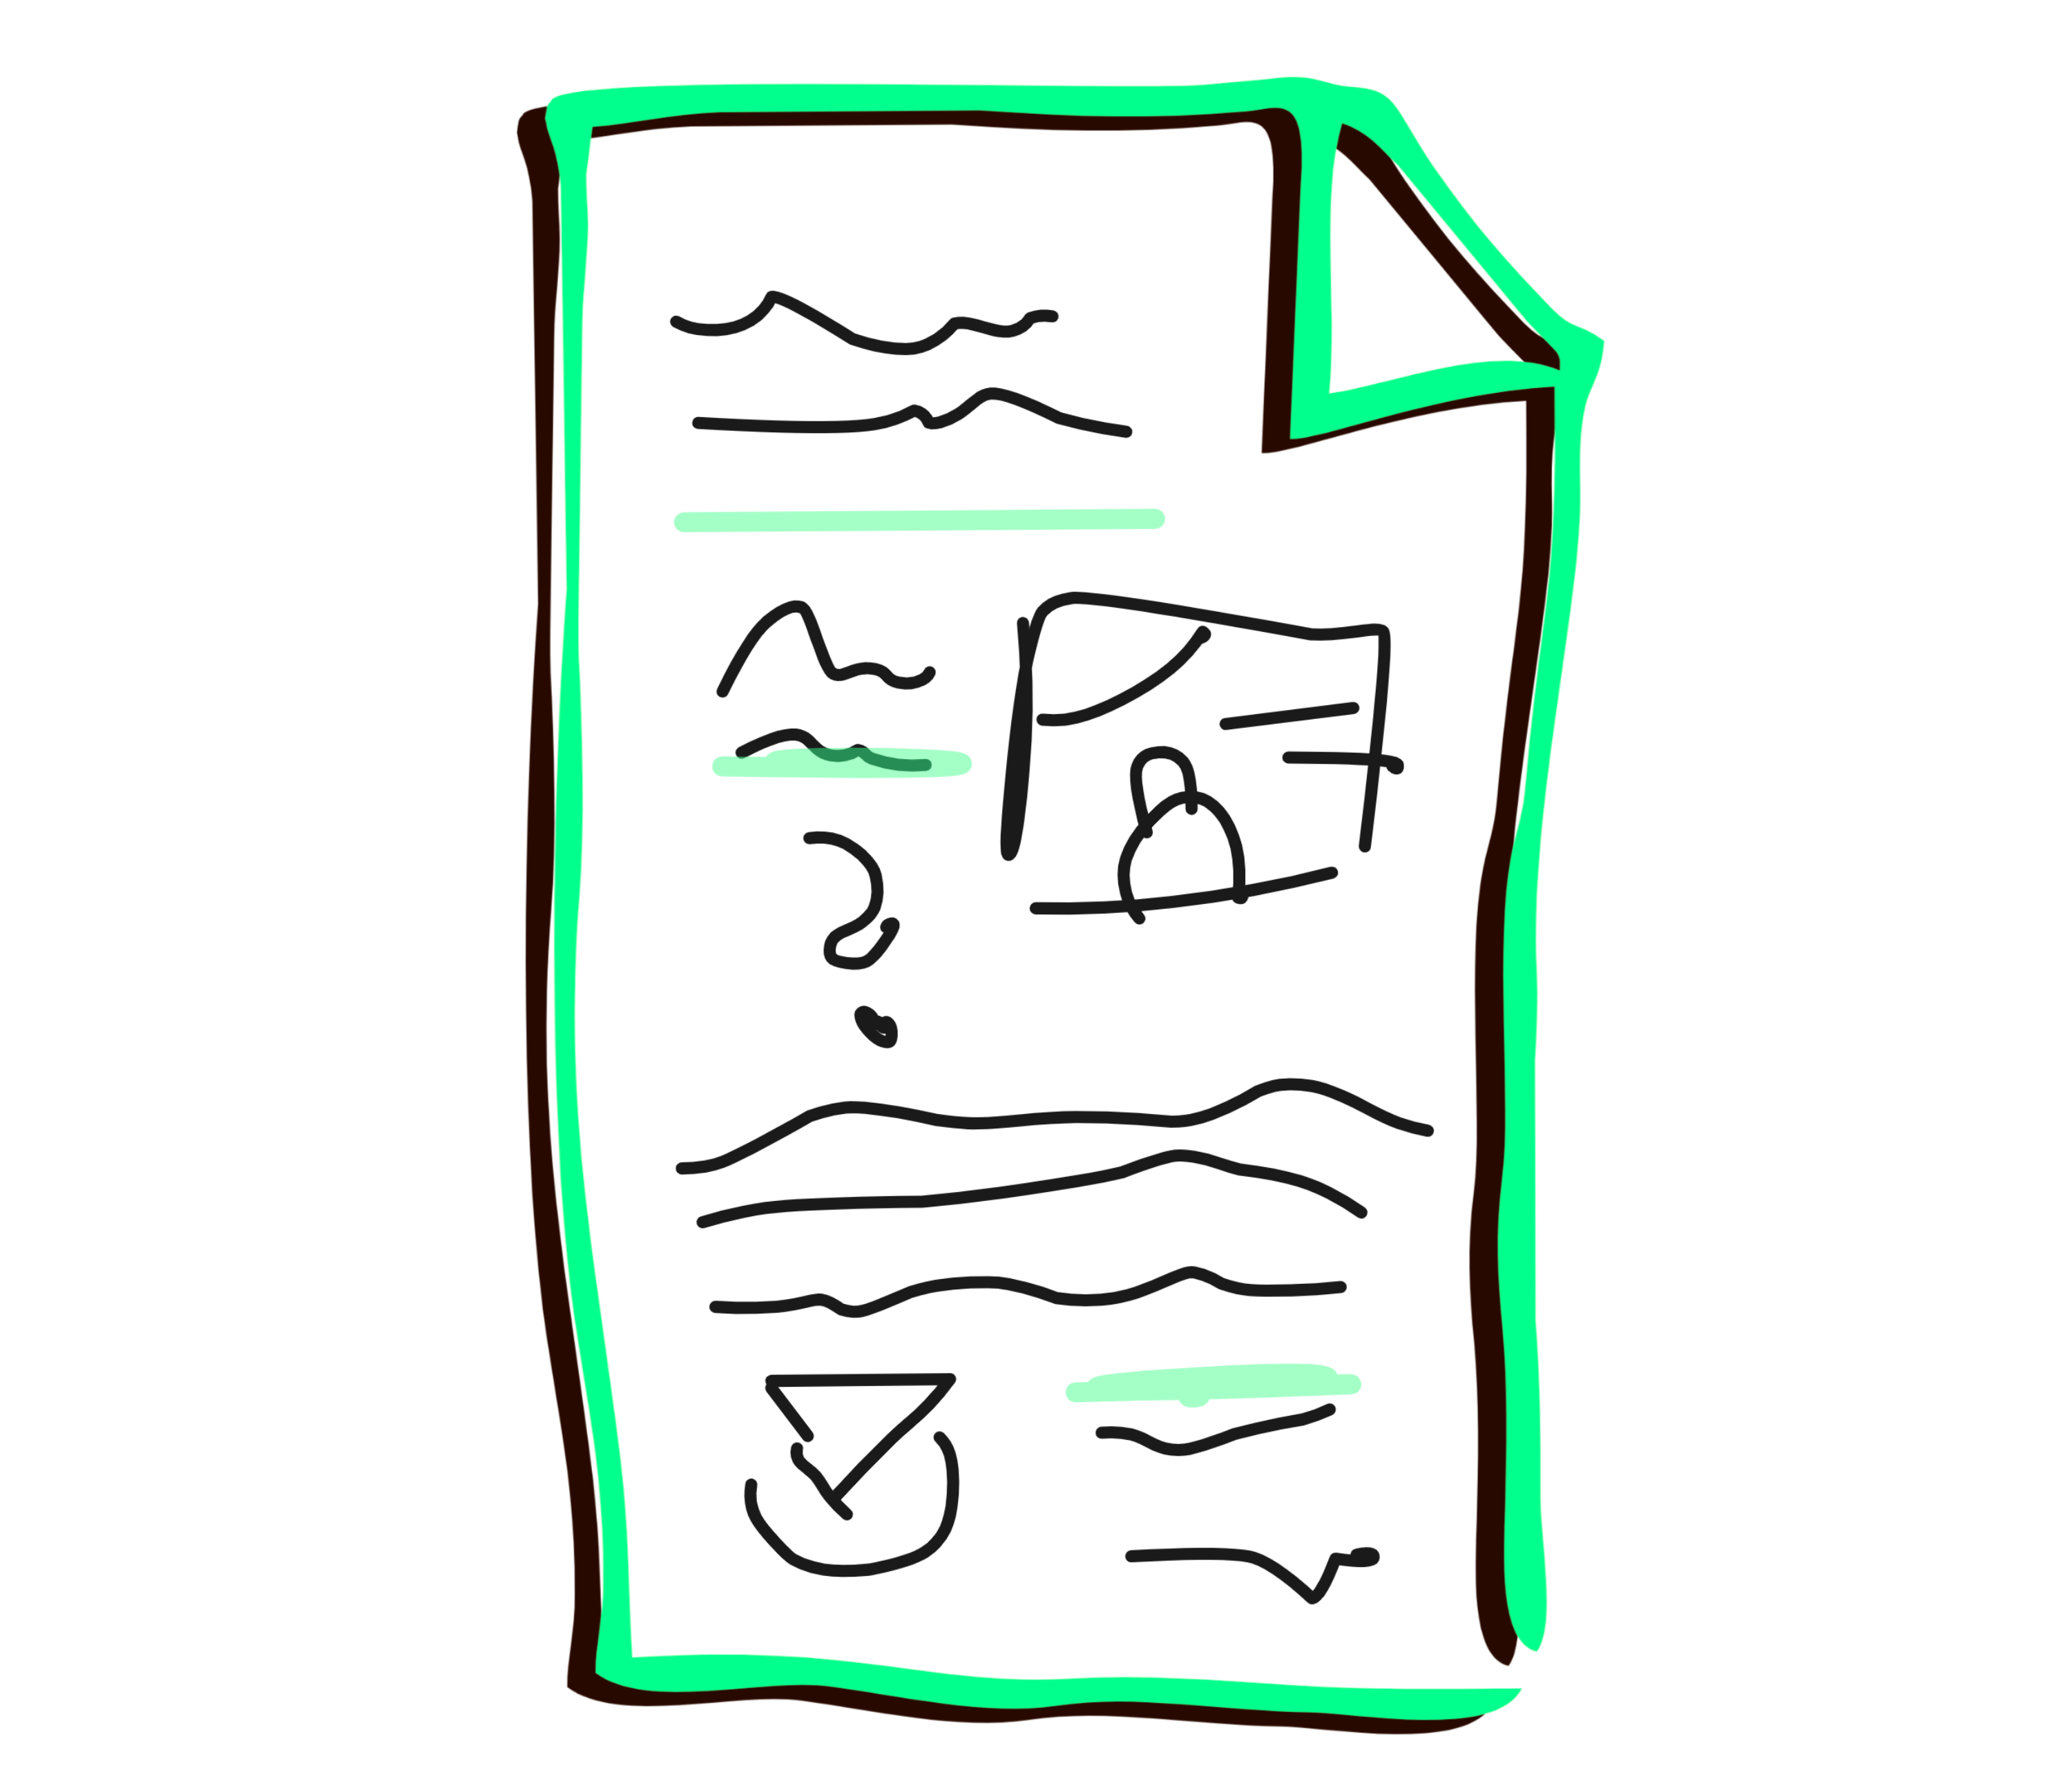
Gather some sheets of paper and a pen. Revisit the crucial “How Might We” questions, the customer journey map, and the lightning demos. Jot down all of your thoughts and ideas regarding the solution you’re developing. Keep writing, even if you feel like you’re duplicating your thoughts. These notes are for your personal reference, and you don’t have to share them with anyone.
✅ Write down your ideas (20min)
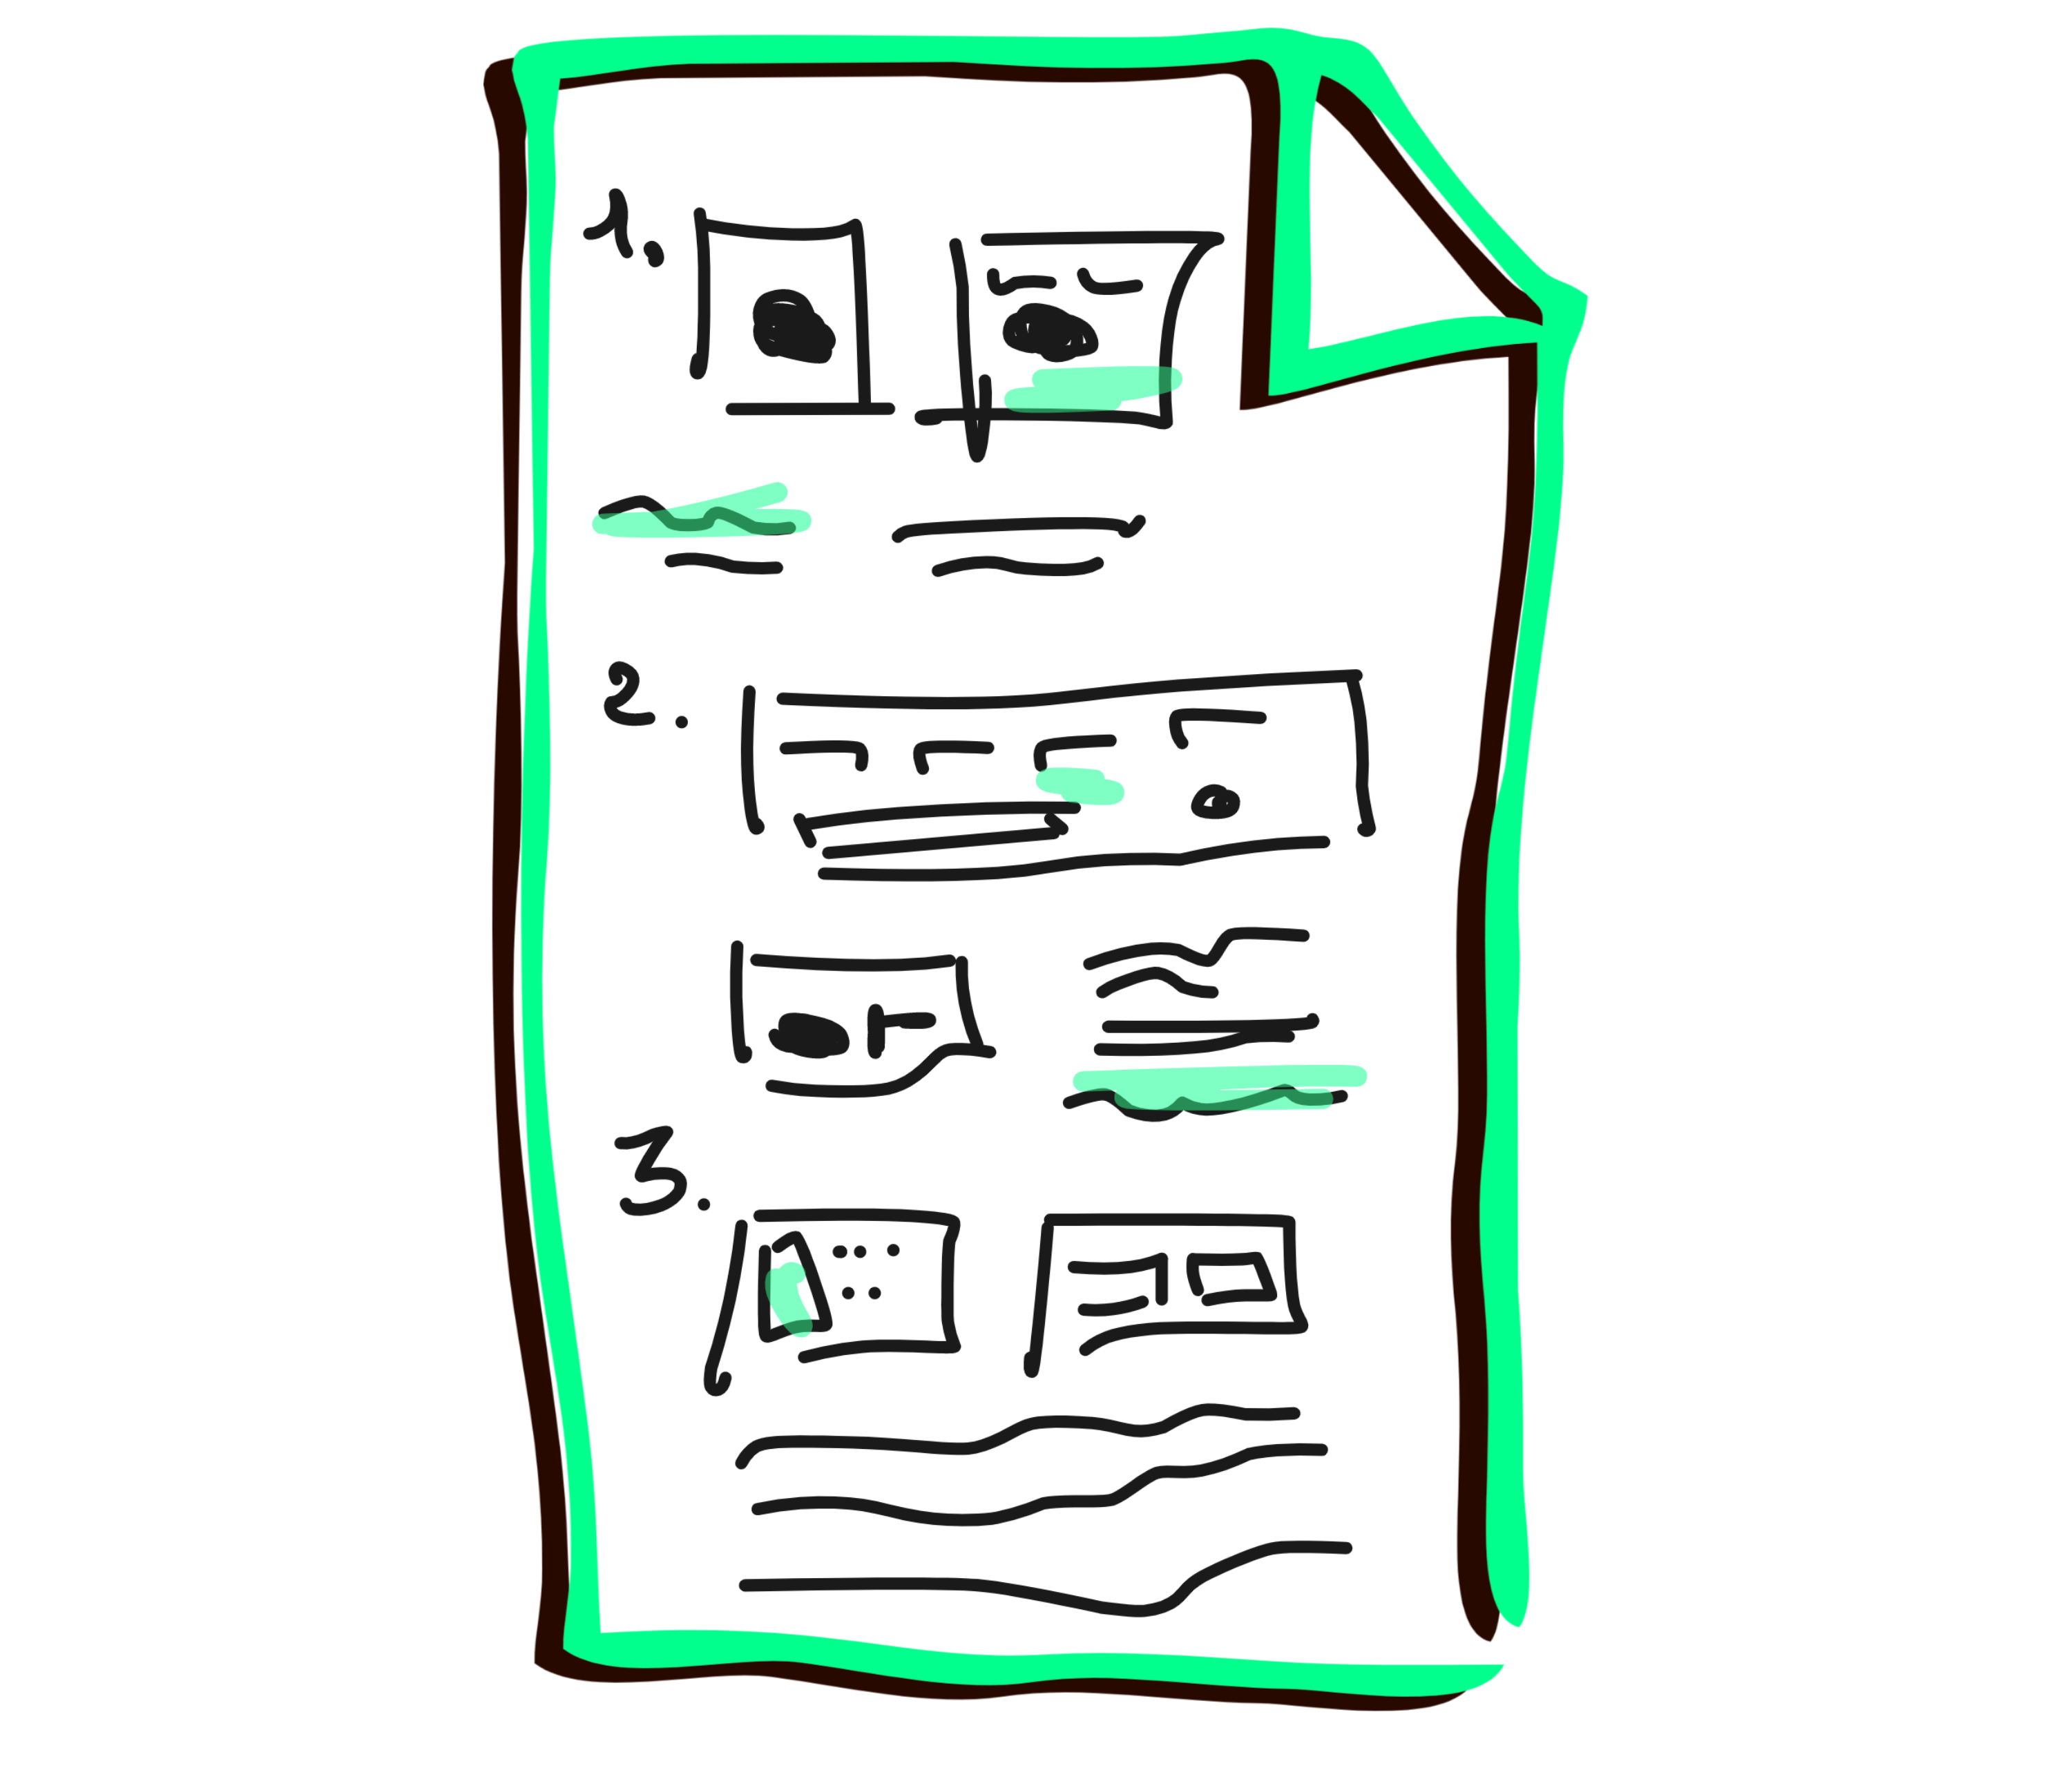
Let’s get creative. Instead of writing, try sketching interesting ideas or solutions. Don’t worry about making them perfect, just let your creativity flow. Remember, these sketches are for your reference only and won’t be seen by anyone else, so it’s okay if they’re not polished or aesthetically pleasing.
✅ Sketch your crazy 8 (8min)
This may be challenging, but it’s also fun! Follow these steps:
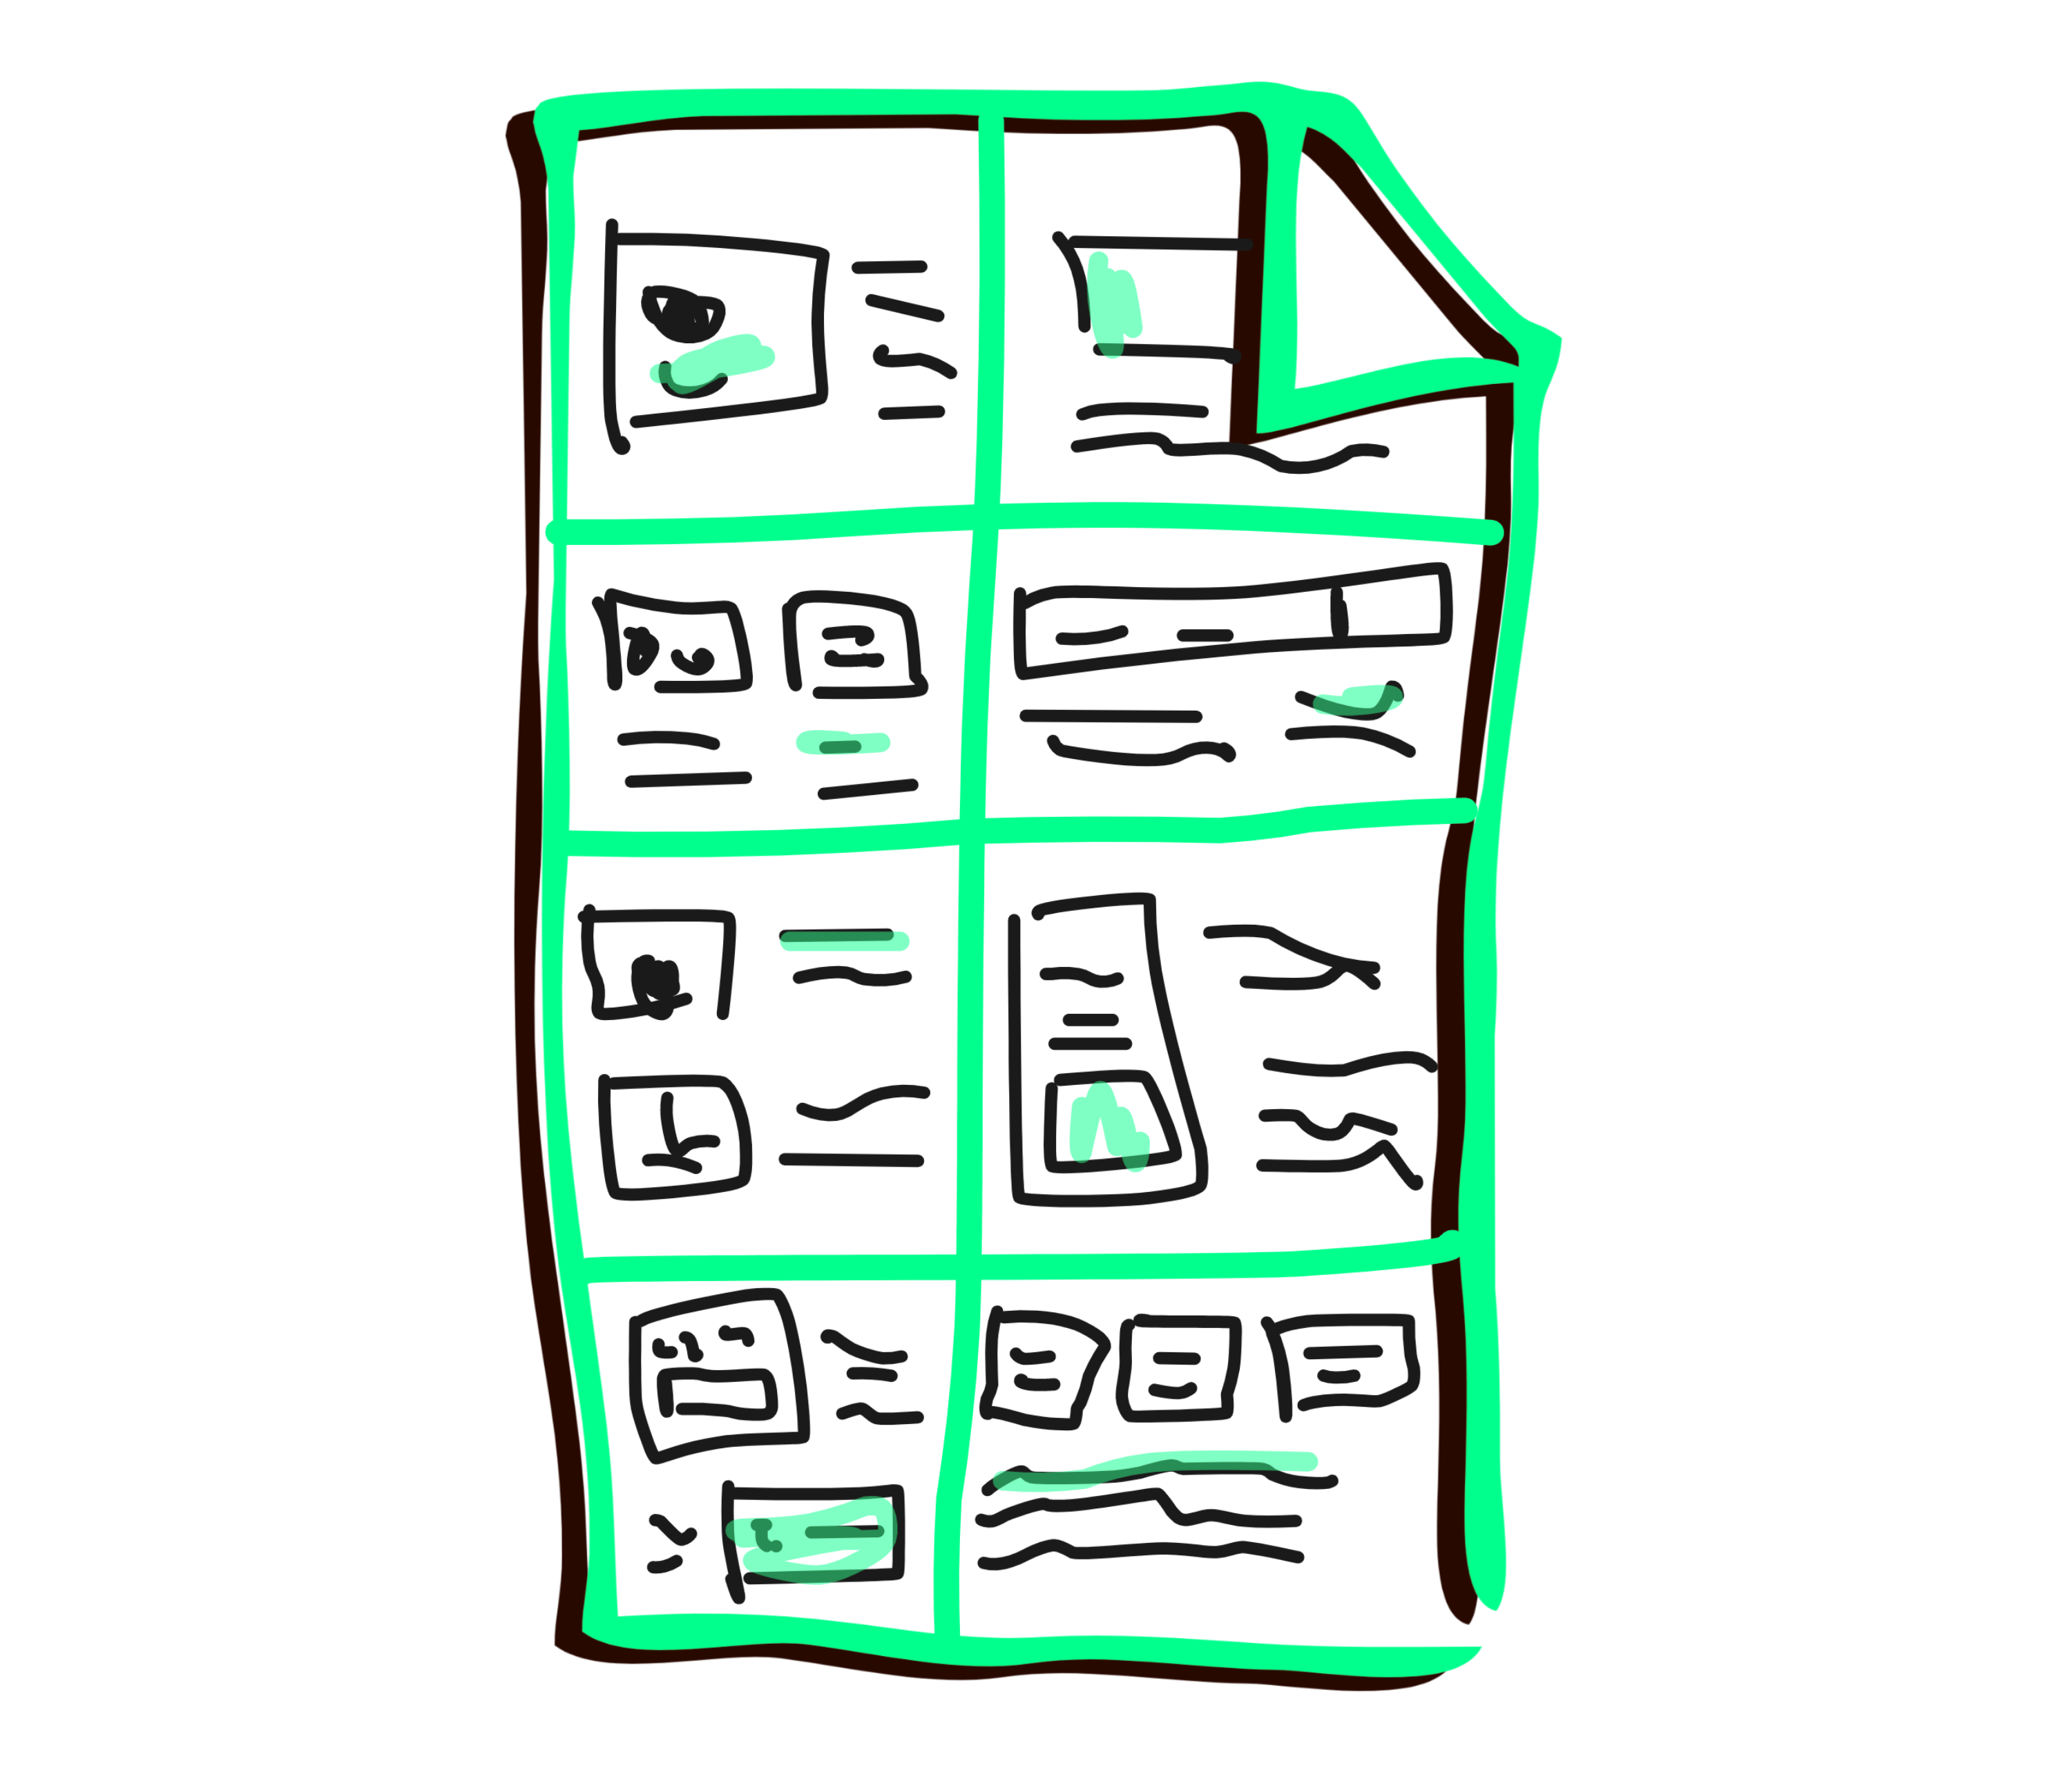
- Take a sheet of paper and fold it into four sections.
- Unfold the paper to create a grid with eight boxes.
- Using a timer, quickly sketch eight different ideas in eight minutes, one idea per box.
- Feel free to experiment with different variations of similar ideas.
- These sketches are for your personal use only, so keep them private and don’t show them to anyone.
✅ Draw your solution sketches (40min)
Now it is time to pick your solution(s) and elaborate on it. Take some new sheets of paper and draw a visual explanation of your solution(s). Each sheet of paper, letter size (A4), will represent one potential solution to the sprint challenge. This exercise will be shared with others, so it is important that your ideas are clearly and effectively communicated. Keep in mind that you won’t be able to explain your concept in person, so it should be self-explanatory and easy to understand.
✅ Submit the sketches
Those who have completed their solution sketch should take a photo of it and send it to the facilitator’s email address. The facilitator will then collect all of the solution sketches and display them in the designated exhibition area for all to see.
Step H
Solution Gallery

The solution sketches which the team created should now be put up and presented by the facilitator in the solution gallery.
The solution gallery allows all the team members, stakeholders and users to see all the solutions and have a clear understanding of the different ideas that the team has generated.
The team is now invited to review the solutions and provide feedback. This feedback can then be used to make decisions about which solutions to move forward with and which to discard. The solutions gallery can also be used later as a resource for the team to come back and refer to in the future, during the implementation and testing stages.
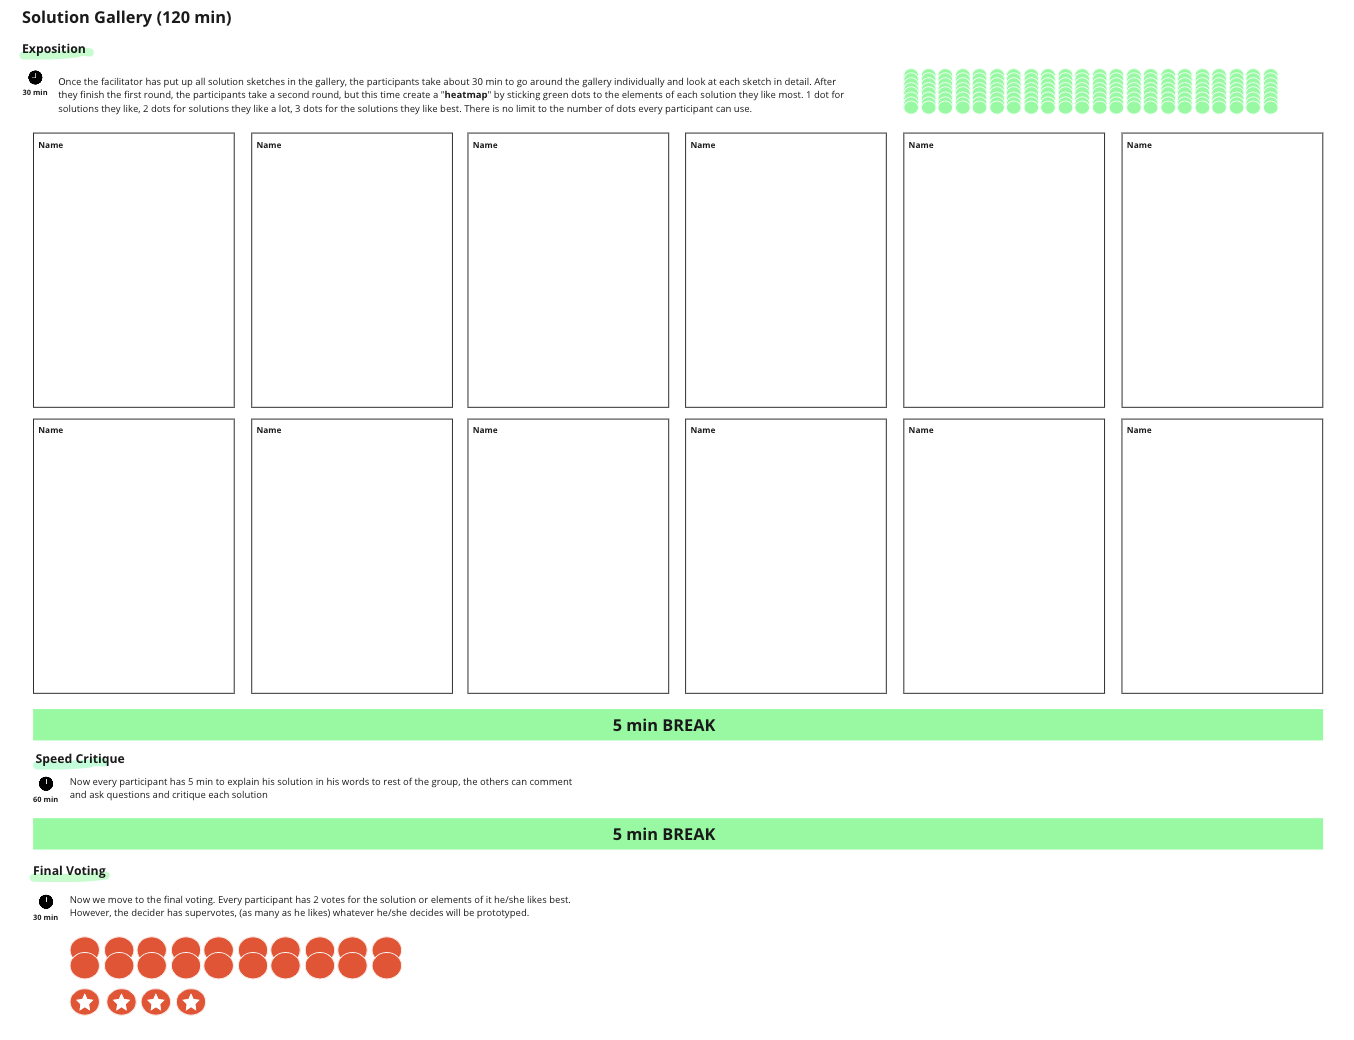
We will start with a silent exposition in which everyone views and evaluates the other’s sketches individually and later vote for the best solutions. After that, the solutions will be discussed in the group and the team member can speed critique the solutions. Finally, the best solution(s) will be selected through a final voting. So go ahead and follow the steps.
✅ Walk through the exposition and vote (30min)
Once the facilitator has put up all solution sketches in the gallery, the participants take about 30 min to go around the gallery individually and look at each sketch in detail. After they finish the first round, the participants take a second round, but this time create a “heatmap” by sticking green dots to the elements of each solution they like most. 1 dot for solutions they like, 2 dots for solutions they like a lot, 3 dots for the solutions they like best. There is no limit to the number of dots every participant can use.
✅ Give your speed critique (60min)
Now every participant has 5 min to explain his solution in his words to the rest of the group, the others can comment and ask questions and critique each solution.
✅ Make your final voting (30min)
Now we move to the final voting. Every participant has 2 votes for the solution or elements of it he/she likes best. However, the decider has supervotes, (as many as he likes) whatever he/she decides will be prototyped.
With this, you should have a rather detailed picture of which solutions or elements you want to move forward with and be ready to create your storyboard.
Step I
Storyboard

In the last step of the day, we will be creating your storyboard. The storyboard is a visual representation of a user’s experience with a product or service, used to illustrate the flow of steps and interactions that a user goes through.
It helps to capture and organize the team’s ideas, and to help them think through the user experience in a visual and holistic way. It also helps to identify problems and opportunities, and to generate further ideas. It allows the team to align and move forward with a shared understanding of the user’s experience and to take key decisions.
A storyboard typically consists of a sequence of illustrations or images, accompanied by captions or notes that describe the user’s actions, thoughts, and emotions at each stage of the experience. The illustrations can be simple hand-drawn sketches or digital images, whatever helps to provide a clear visual representation of the user’s journey. Finally, the storyboard serves as a blueprint for the prototype.
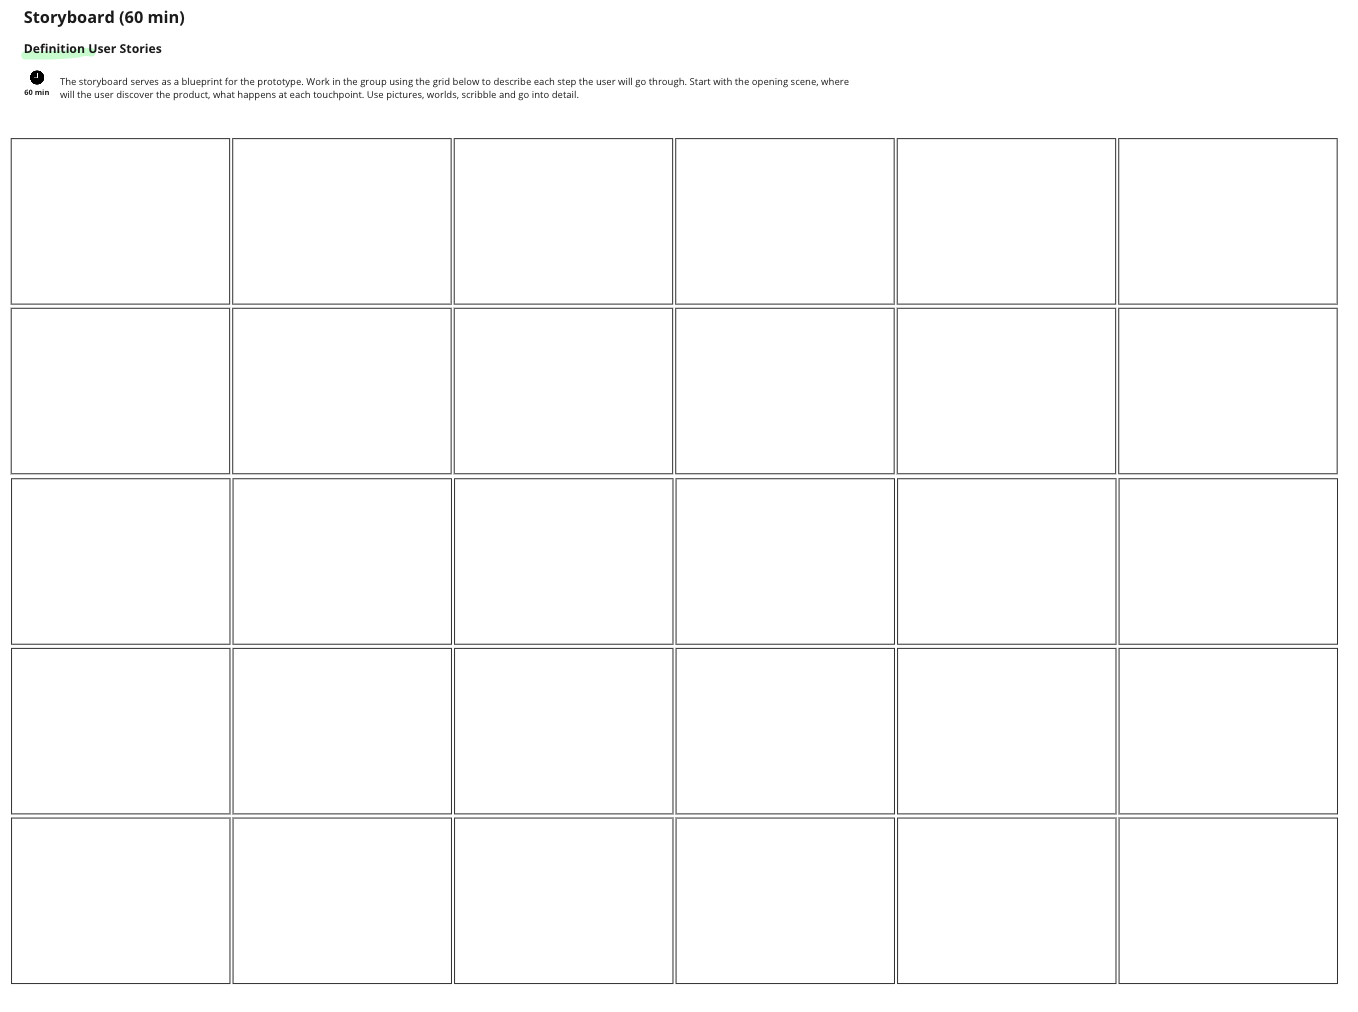
✅ Draw the storyboard (60)
Work in the group using the grid on the whiteboard to describe each step the user will go through. Start with the opening scene, where will the user discover the product, what happens at each touchpoint. Use pictures, worlds, scribble and go into detail.
