Prototype Development Guide
What is a Prototype?
In this toolkit, we will focus on developing your product or service prototype.
A prototype is a working model or simulation of a proposed product, service, or system. It is a representation of the final product that allows you to test and validate the product/service concepts and to gather feedback on the design from potential users. This helps you make sure that the solution is viable, functional, easy to use and meets the needs of the users before proceeding with the implementation. With your prototype you can test the design, usability, user interface and overall user experience and validate your assumptions.
Prototypes can vary widely in terms of their level of fidelity, which refers to how closely the prototype resembles the final product.
- Low-fidelity prototypes, such as paper mockups or wireframes, are often used in the early stages of the design process to quickly test and validate basic concepts.
- High-fidelity prototypes, on the other hand, are more polished and closely resemble the final product, and are used later in the process to test more detailed and refined concepts.
There are various formats of prototypes, which one you choose depends on the nature of your product or service and what it is you want to test.
Prototype formats can include:
Paper Prototypes
- These are simple sketches or mockups created on paper.
- They are quick and easy to create and are often used in the early stages of the design process to test basic concepts.
- They are mostly used for testing the layout, hierarchy and the overall design concept.
Wireframes
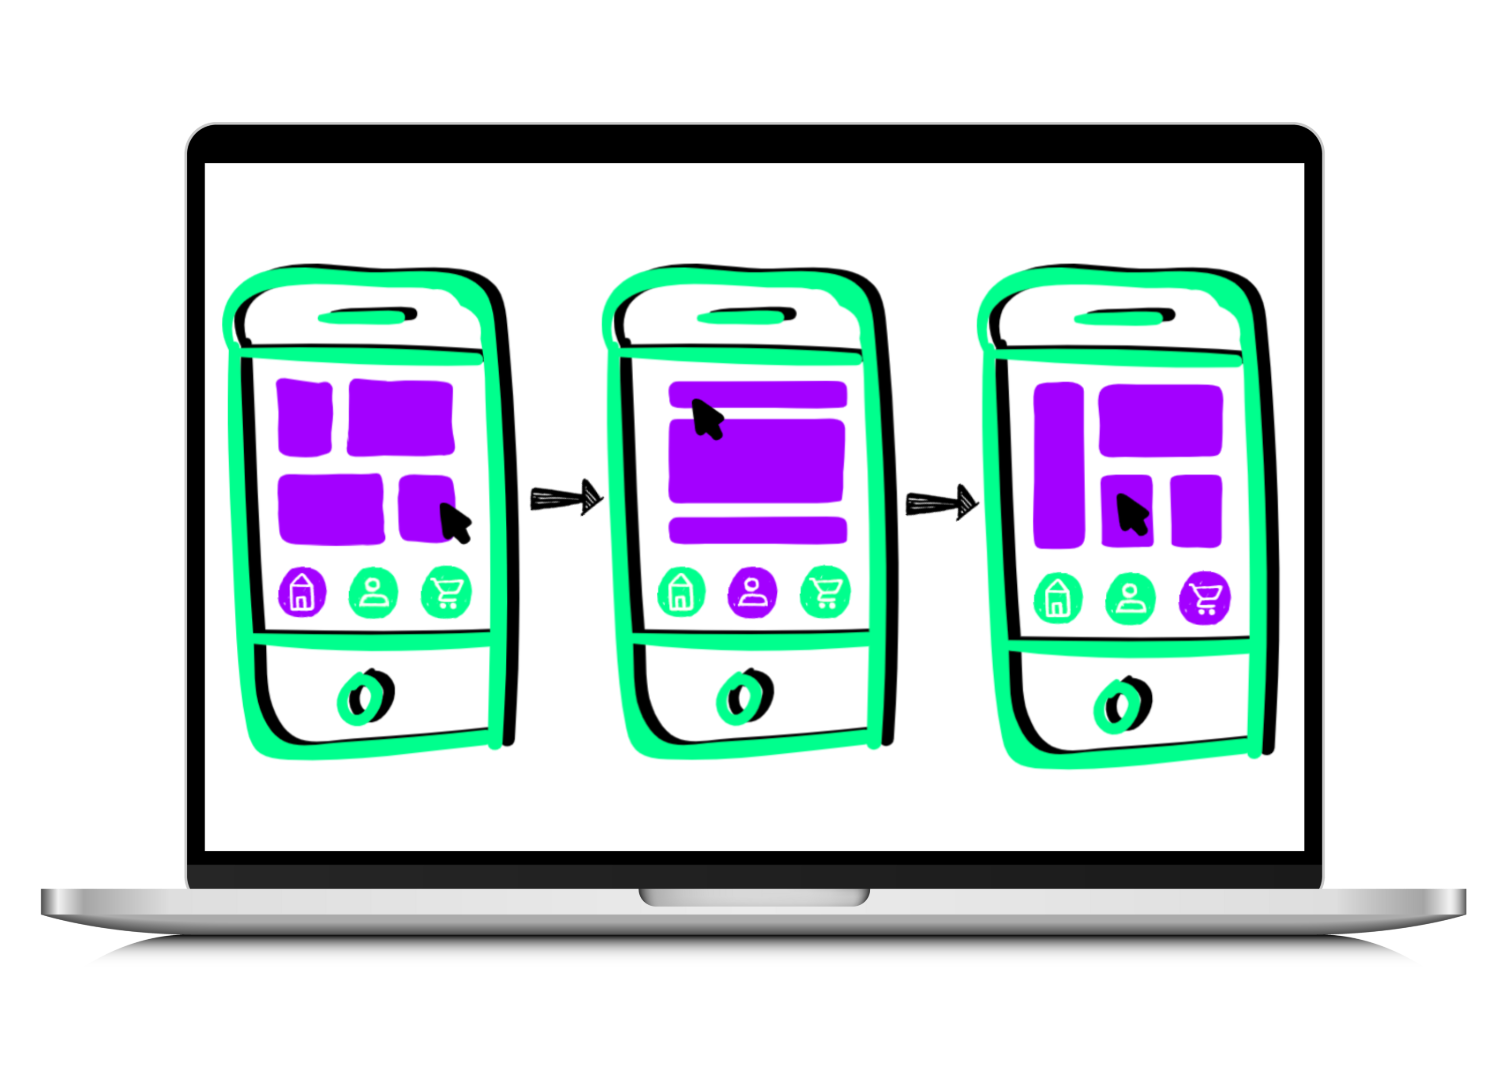
- These are low-fidelity digital representations of the user interface.
- They are simple and minimalistic, and are used to test and validate layout, navigation, and overall structure.
- They are mostly used for testing the flow and the overall user experience.
Clickable Prototypes
- These are interactive digital prototypes that simulate the functionality of the final product.
- They allow users to interact with the design, such as clicking on buttons and navigating through screens.
- They are used to test usability and user experience.
Storyboards
- They are a series of illustrations or images that depict the user’s experience with a product or service.
- They are used to describe the flow of steps and interactions that a user goes through.
Role-playing Scenarios
- They are a way of simulating a situation, an interaction or a process.
- They are used to simulate the real-life context and to test the solution in a realistic way.
Physical Prototypes
- They are a physical representation of the final product.
- They are used to test the materials, the design, the ergonomics, and the overall user experience.
Working Prototypes
- These are functional versions of the final product and are used to test the overall functionality, performance, and usability of the solution.
- They are the most advanced type of prototype and are used in the final stages of the design process.
Video Prototypes
- These are short videos that simulate the user’s experience with a product or service.
- They can be used to show how the product will look and work in a realistic setting.
Animation Prototypes
- They are a series of illustrations, images or graphics that depict the user’s experience with a product or service.
- They are used to show how the product will work, how it will respond to user interactions and how it will look.
Virtual Reality (VR) or Augmented Reality (AR) prototypes
- These are digital prototypes that can be viewed and interacted with in a virtual environment.
- They are used to test the overall user experience in a realistic setting.
Voice-based prototypes
- They are a way of interacting with a product or service by using voice commands.
- These prototypes are used to test the voice recognition and the overall user experience of a voice-based product.
Gamified Prototypes
- They are interactive prototypes that are presented in a game-like format.
- They are used to test the usability and user engagement of a product or service.
Live Testing
- This type of prototype is a live version of the product or service, it can be a website, a mobile application or a software.
- It’s used to test the overall functionality, usability, and performance of the solution.
Wizard of Oz prototypes
- They are a type of prototype where the user interacts with a live person or a chatbot that simulates the interactions with a product or service.
- They are used to test the overall user experience, the usability and the performance of the solution
PowerPoint Presentations
- They are a series of slides that can be used to present a proposal, an idea or a concept to stakeholders.
- They can be used to present a design concept, a user flow, and a wireframe, and to show how the product will look and work.
Mockups
- They are detailed and polished visual representations of the final product.
- They can be used to show the overall design, the layout, the typography, the color scheme, the icons, and the overall style of the product.
- They can be used in the later stages of the design process, to test the overall design, the user experience, and the usability of the solution.
At this stage the main objective will be to understand if your product or service idea and its features are attractive for your target customers and if it addresses their needs and provides a solution to their problem. In short, to test its desirability.
“Fake it until you make it”! You can develop a prototype in one day, yes you heard well ONE DAY. When developing a prototype in such short time it is important not to get stuck on unnecessary details and perfectionism. You don’t have to create a perfectly working product but rather create an illusion for your target customers that showcases and resamples your product or service concept.
Adopt a prototype mindset:
- Keep it simple: Your prototype should be simple and easy to understand, and should focus on the core features and functionality. Avoid adding unnecessary elements or complexity.
- Focus on user needs: The prototype should be designed with the user’s needs in mind, so keep your whiteboard from yesterday at hand.
- Be consistent: Your prototype should be consistent in terms of design, layout, and navigation. This will help your users to understand and navigate the prototype easily.
- Be clear: Be clear about and focus on your prototype’s purpose and what it should represent. This will help your stakeholders to understand the prototype and to provide useful feedback.
- Make it realistic: The prototype should be realistic and representative of the final product. It should be designed to the best of your ability, keeping in mind the technical limitations and time constraints.
- Be open to change: The prototype is just a first draft and is disposable. Be open to feedback and be willing to make changes as needed or even throw it away and completely revamp it.
- Test internally: To stay on the right track the prototype should be tested early and often. As you advance with your prototype step back from time to time to check it and gather feedback from the rest of the team to identify areas for improvement and make adjustments throughout the day.
So, to keep it easy and make it possible to develop a prototype in just one day we suggest moving forward with either a simple wireframe of your website, of a single landing page, of a mobile app or a presentation that visualizes your idea. This format is applicable to almost any type of product or service. No matter if you are offering a physical product, a digital product, a physical service or online service, a website/app or presentation is always a good tool to showcase your offering.
Note: 🍋 Throughout this guide we will use the example of a food supplement company to better illustrate each task and information.
What is Prototype Development Good For?
Prototype development is crucial for you as startup founders as it enables you to test the viability, functionality, and user-friendliness of your product or service before full implementation. It ensures that the solution aligns with user needs, making the development process more efficient and reducing the risk of failure. The benefits of previous prototype development include:
- User Validation: Test the desirability of your product or service idea among your target customers.
- Rapid Iteration: Quickly iterate and refine your concept based on user feedback.
- Problem Identification: Identify pain points and challenges faced by users to enhance your solution.
- Enhanced User Experience: Evaluate and improve the overall user experience, making your product more intuitive.
- Market Alignment: Validate the product-market fit and assess customer demand before full-scale development.
- Optimized Features: Gather feedback on features and design to prioritize and optimize for user preferences.
Curated Lists 📋
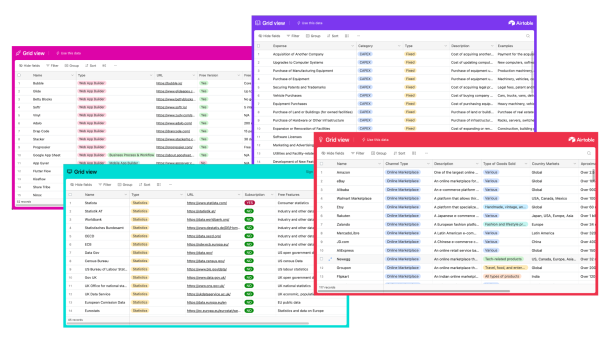
💡 To save you some time, we have prepared a free list with Prototyping Tools and a free Prototype Structure Glossary which you can use to develop your prototype.
How to Develop a Prototype Step-by-Step:
Step A: Prototype Templates
Step B: Define the Storyboard & Goals
Step C: Define the Structure
Step D: Create the Content
Step E: Build the Prototype
Step F: Test your Prototype
Step A
Prototype Templates
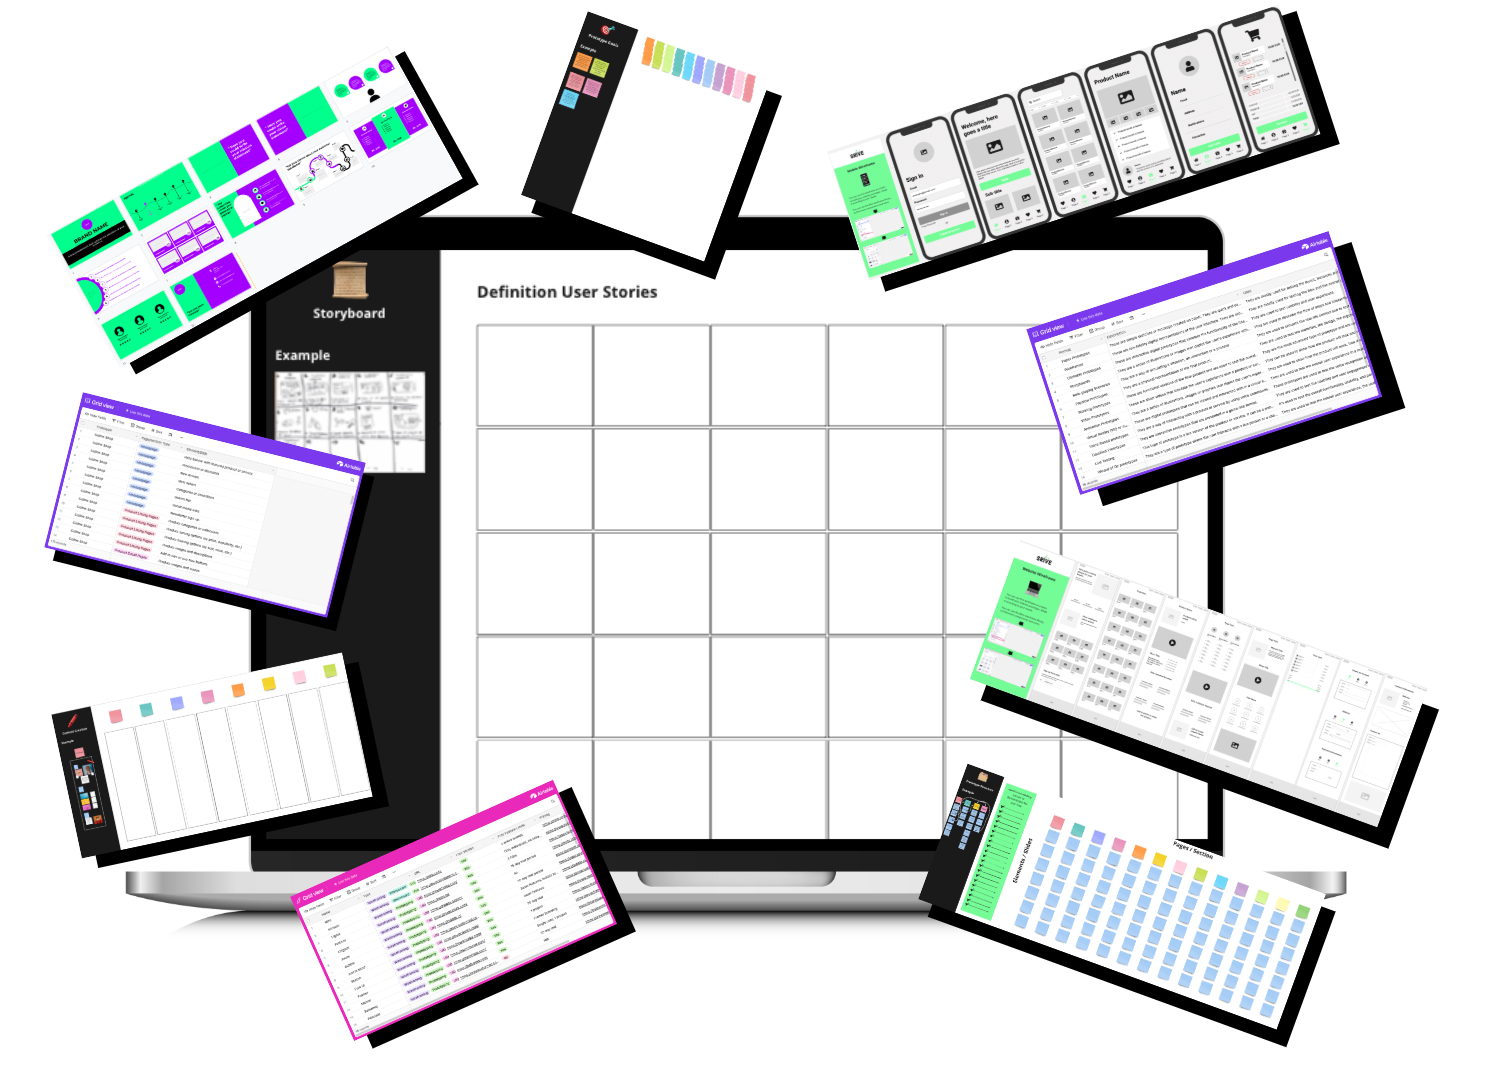
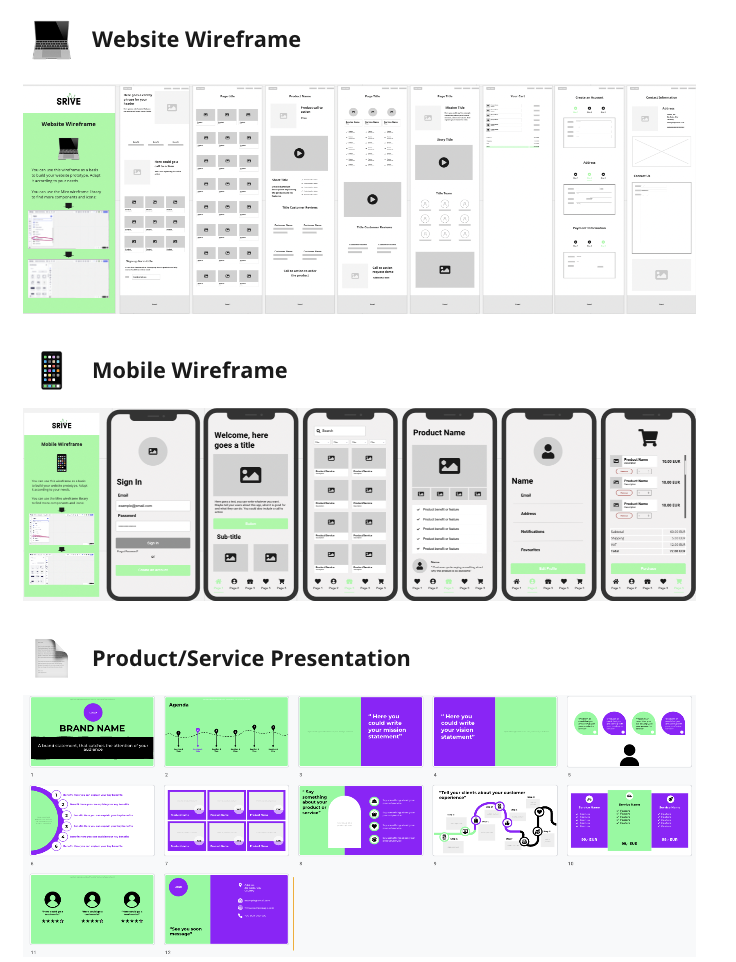
To design your prototype and wireframes you can either build your own templates for example on Miro and use Google Slides to create your product presentation or you can use our ready-to-use templates along with this guide.
Included Templates:

Prototype Development Miro Board

Website Wireframe Miro Board

Mobile Wireframe Miro Board
Product/Service Presentation Template
💡 You can of course also choose to use a different tool to build your prototype. Above we put together a List of useful tools for prototyping which can be helpful to build your prototype but also to create content, copies, visuals, and much more.
Step B
Define the Storyboard & Goals

To start, you want to draft your user stories by creating a so-called storyboard. If you used our product/service design toolkit you already completed this step, so all you need to do is to copy it to your Prototype Development 📒Template. In case you haven’t drafted your user stories, yet you will have to complete this step now.
The storyboard is a visual representation of a user’s experience with a product or service, used to illustrate the flow of steps and interactions that a user goes through. It helps to capture and organize your team’s ideas, and to help you think through the user experience in a visual and holistic way. It also helps to identify problems and opportunities, and to generate further ideas. It allows your team to align and move forward with a shared understanding of the user’s experience and to take key decisions.
A storyboard typically consists of a sequence of illustrations or images, accompanied by captions or notes that describe the user’s actions, thoughts, and emotions at each stage of the experience. The illustrations can be simple hand-drawn sketches or digital images, whatever helps to provide a clear visual representation of the user’s journey. Finally, the storyboard serves as a blueprint for the prototype.
✅ To draw the storyboard work in the group using the grid on the whiteboard to describe each step the user will go through. Start with the opening scene, where will the user discover the product, what happens at each touchpoint. Use pictures, worlds, scribble and go into detail.
In order not to lose track and focus during your prototype development, you want to clearly define the goals of the prototype.
✅ Use the area “Prototype Goals” in the Prototype Development 📒Template, to note down your goals, and be specific when doing so. This might include identifying the specific problems or challenges that the prototype is intended to solve, and what the team hopes to learn from it.
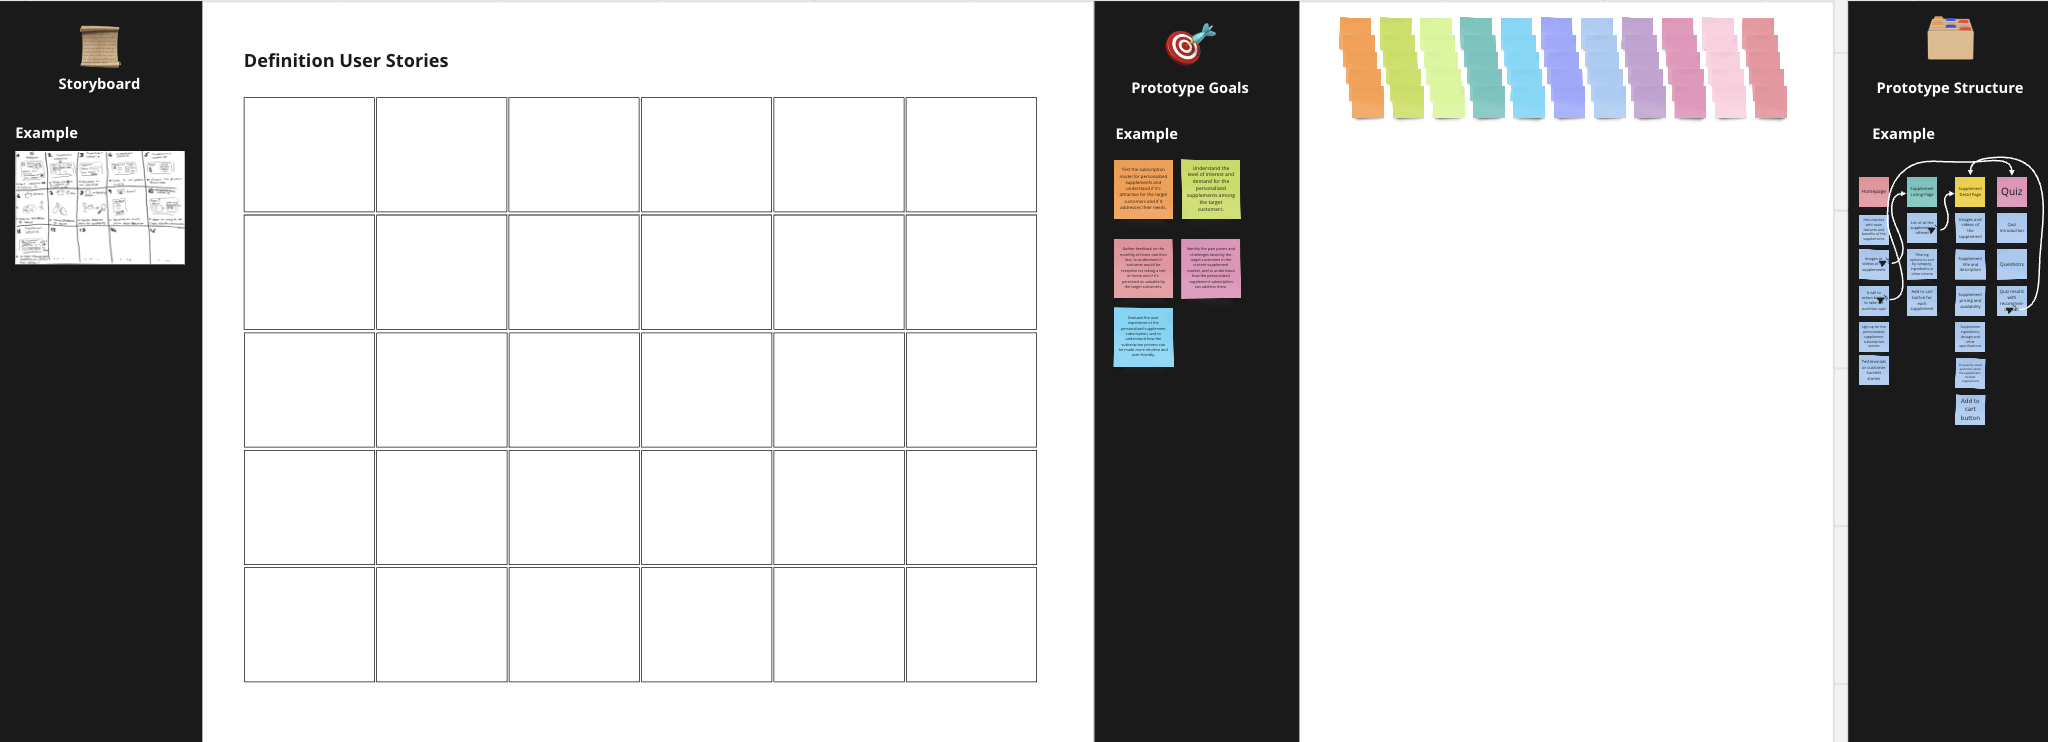
Types of prototype goals could be for example:
- Validating the product-market fit: Test if the product or service idea is aligned with the target customer’s needs and if it addresses a real problem.
- Assessing customer demand: Understand the level of interest and demand for the product or service among the target customers.
- Gathering feedback on features and design: Gather feedback on the features and design of the product or service, to understand which features are most important to the target customers and which ones need improvement.
- Identifying pain points: Identify the pain points and challenges faced by the target customers, and to understand how the product or service can address them.
- Identify level of satisfaction: Measure the level of satisfaction among the target customers, and to understand how the product or service can be improved to meet their needs.
- Evaluating the user experience: Evaluate the user experience, and to understand how the product or service can be made more intuitive and user-friendly.
Step C
Define the Structure

Now you want to define the structure of the wireframe or presentation prototype. This might include identifying the key pages or screens of the prototype and different elements within those, the layout and navigation, the overall information architecture and the user flow. Or the sections, slides and presentation flow when using a product/service presentation prototype.
✅ Refer to your storyboard to inform the structure and use the corresponding area of your Prototype Definition 📒Template, to lay out your prototype structure and elements before starting to build.
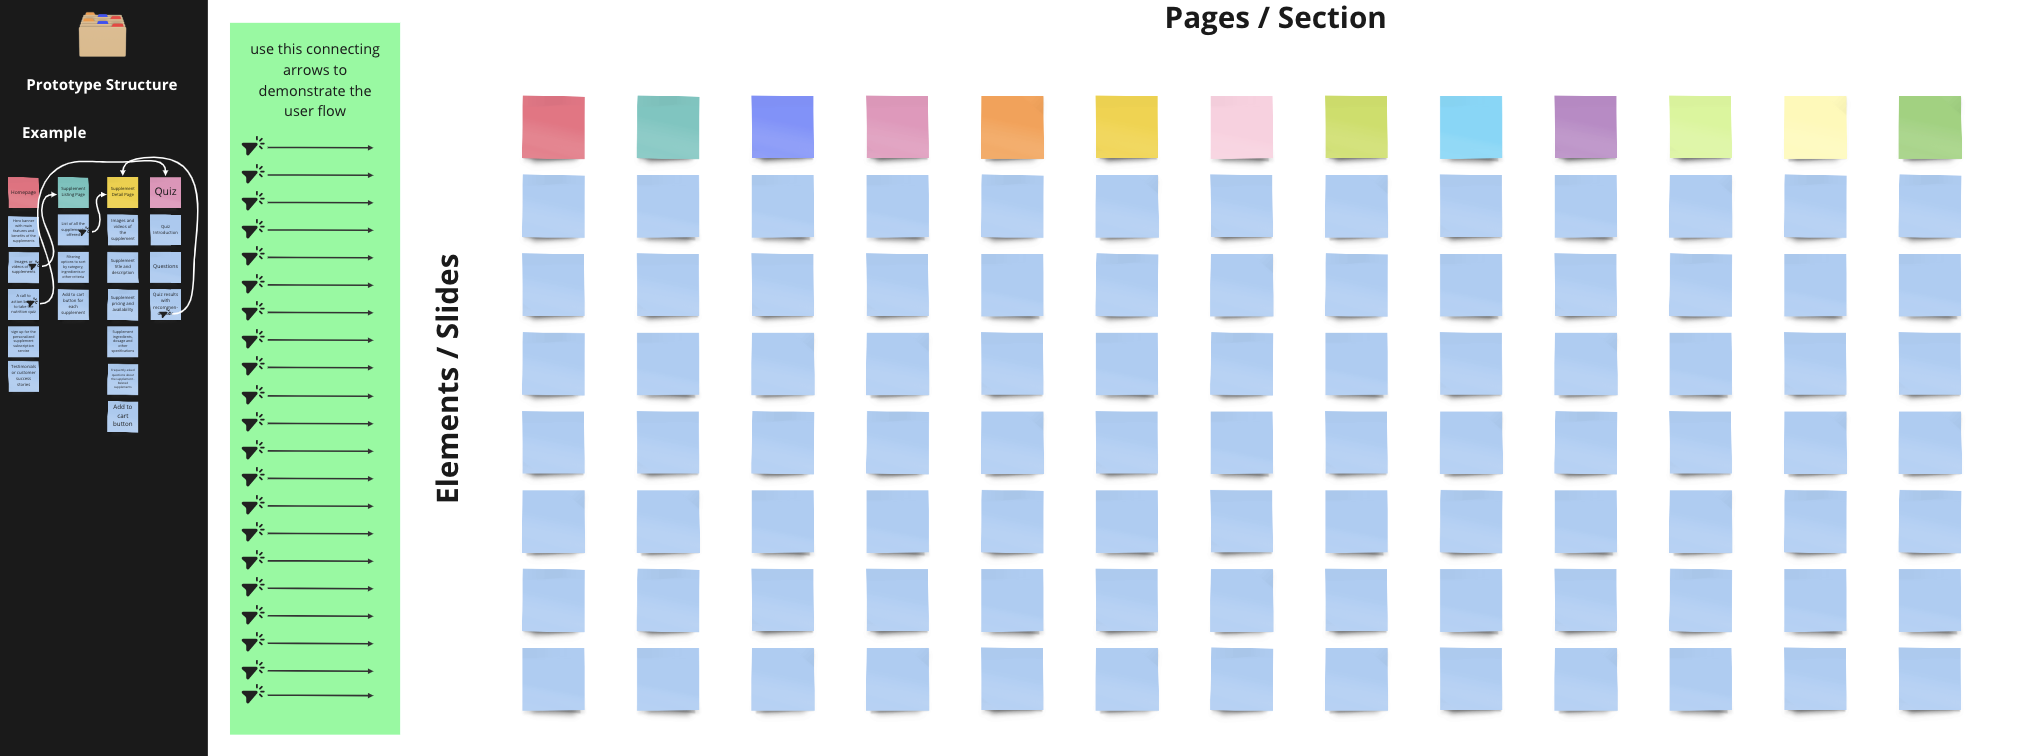
When defining your wireframe structure, you should take into consideration the following elements:
- Navigation: The navigation structure of a website or app wireframe should be easy to understand and use. This means that the main sections and pages of the website or app should be clearly labeled and organized in a logical way. Navigation should also be consistent across all pages.
- Information architecture: The information architecture of a website or app wireframe refers to the way in which the content is organized and structured. It should be designed in a way that makes it easy for users to find the information they need. This may include organizing the content into categories, using a clear hierarchy of headings and subheadings, and using clear labels and calls to action.
- User flow: The user flow of a website or app wireframe refers to the path that users take through the website or app. It should be designed to guide users through the most important pages and sections, and to help them complete their tasks. This may include designing clear calls to action, and using visual cues such as arrows and lines to guide users through the interface.
When defining a product presentation structure, think about the presentation flow, in which sections you would divide your presentation and which slides and elements you would include in every section.
💡 You will find examples for typical pages and page elements that you could include in your wireframe or presentation prototype on the Prototype Structure Glossary List above.
Step D
Create the Content

Now that you have outlined the structure and are clear about the different elements you are going to include in your prototype, you can start building.
If you are working with a team or at least another person, that’s great, then you can divide into two teams and work in parallel on creating the content and building the prototype (step E). If you are working alone, that’s fine, of course. Then, just finish one step after the other
In this step, you want to create and collect all the content for the different elements you defined.
Copywriting:
You want to define the key messages and write the text copies that appear on your website, app or presentation prototype which shall communicate the value of your business, product, or service to your potential customers. When doing copywriting for a website, there are several important things to keep in mind:
- Clarity and conciseness: The language should be simple, direct and easy to understand. This will help visitors quickly understand the value of the product or service, and make it more likely that they will take the desired action (e.g. making a purchase, signing up for a service).
- Benefits-driven: The website’s copy should focus on the benefits of the product or service for the customer, not just its features. This will help visitors understand how the product or service will improve their lives, and make them more likely to make a purchase.
- Emotionally resonant: Copywriting should evoke an emotional response from the visitor. It should be written in a way that makes visitors feel good about the product or service, and makes them more likely to take action.
- Call-to-action: The website’s copy should include clear and prominent calls-to-action, such as “Sign up now” or “Buy now”. These buttons should be easy to find, and the language should make it clear what will happen when they are clicked.
- Branding: The website’s copy should be consistent with the company’s branding, including the tone of voice, message, and overall personality.
- SEO: The copy should be written with search engine optimization (SEO) in mind. This means including relevant keywords, meta tags and using proper headings and titles.
There are a number of tools, including new AI tools, which you can call to help when creating your text copies. You will find also on the prototype tech stack 📋List above.
Visuals:
Second you want to search for or even create appealing visuals for your prototype like photos, drawing, graphics and so on. Those can help as well to communicate the value of your business, product, or service, and even create an emotional connection with visitors.
You can use license-free photo databases to search for image material or create your own visuals using any of the available tools, again you will find the on the tech stack 📋List above. Also, you could create a brand name and logo for your prototype, even if that’s not going to be the final one, but just to make it look more realistic.
When selecting or creating visuals, keep in mind the following points:
- Relevance: The visuals and images should be relevant to the product or service you are offering. They should help to communicate your value proposition and should be used to support the content of your prototype.
- Aesthetics: The visuals and images should be aesthetically pleasing and create a positive emotional response with the visitors. They should be used to create visual interest and to break up text and make the website more engaging.
- Color tones: The color tones of the visuals should match your brand and the emotions you want to convey. Different colors can evoke different emotions in people. For example, warm colors like red and yellow are associated with energy and excitement, while cool colors like blue and green are associated with calmness, and tranquility.
- Branding: The visuals and images should be consistent with your company’s branding, including the tone of voice, message, and overall personality.
- Target audience appeal: Your visuals should be appealing to your specific target audience, and your target customers should see themselves reflected in those images. For example if you use photos of people they should look like they would be part of your target customers.
You can use the space on your Prototype Definition 📒Template to collect your copies and visuals for each page/section.

Step E
Build the Prototype

Finally, using the content and structure defined in the previous steps, you can now design and build the wireframe pr presentation prototype.
As mentioned earlier, you can use and adapt the wireframe and presentation templates we provided or, if you prefer, use any of the other prototype tools, you will find a number of those on the prototyping tech stack 📋List above.
To begin, focus on creating a clear and simple layout. Use the prototype structure as a reference and build the layout of the individual pages and their elements, for example, by adapting the wireframe templates.
When adapting the colors of the wireframe elements or icons, remember to use a consistent visual design that reflects your brand.
Finally, place the text copies and visuals, collected and created in the previous step in your wireframe.
Step F
Test your Prototype

And of course, last but not least, you want to properly test your prototype internally before showing it to potential target customers. Ask the whole team, or if you are working alone, ask your friends and family to go through the wireframe or presentation. This allows you to identify and fix any issues and improve the prototype before it is presented to customers.
When testing it internally, make sure you check the following points:
- Usability: Ensure that it is easy to use, that the navigation is intuitive, and that the user can complete the tasks they need to do.
- Functionality: Ensure that it functions as intended and that all the features and interactions work as they should.
- Content and layout: Ensure that the content is accurate, well-organized, and easy to read. Check that the layout is visually appealing and easy to navigate.
- Performance: Ensure that it loads quickly and runs smoothly, and that there are no technical issues when trying to open and run your presentation or wireframe.
- Branding and messaging: Check that the prototype aligns with the company’s branding, message, and overall aesthetic.
- Device compatibility: Test the prototype on different devices, screen sizes, and browsers to ensure that it looks and works as expected.

